Lab 2: Complete the Process API Layer for Order Fulfillment API
Overview
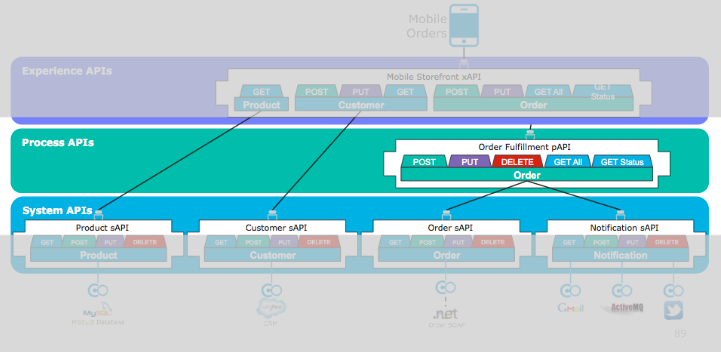
Let us now orchestrate our back-end systems to fulfill the order. We’ll post the order to the Order API.
The implementation will consist of a few steps
-
Extend the Order Fulfillment API stub generated from previous lab
-
Use Flow Controls such as Scatter Gather to drive the orchestration of this Process API
-
Call the Order API to create an Order.
-
Call the Customer API to retrieve user data.
-
Construct an aggregated Process API response message from System API requests using DataWeave transformations
-
Run and test the Mule app containing the Process API from Anypoint Studio
Step 1: Setup the POST flow for the Process API
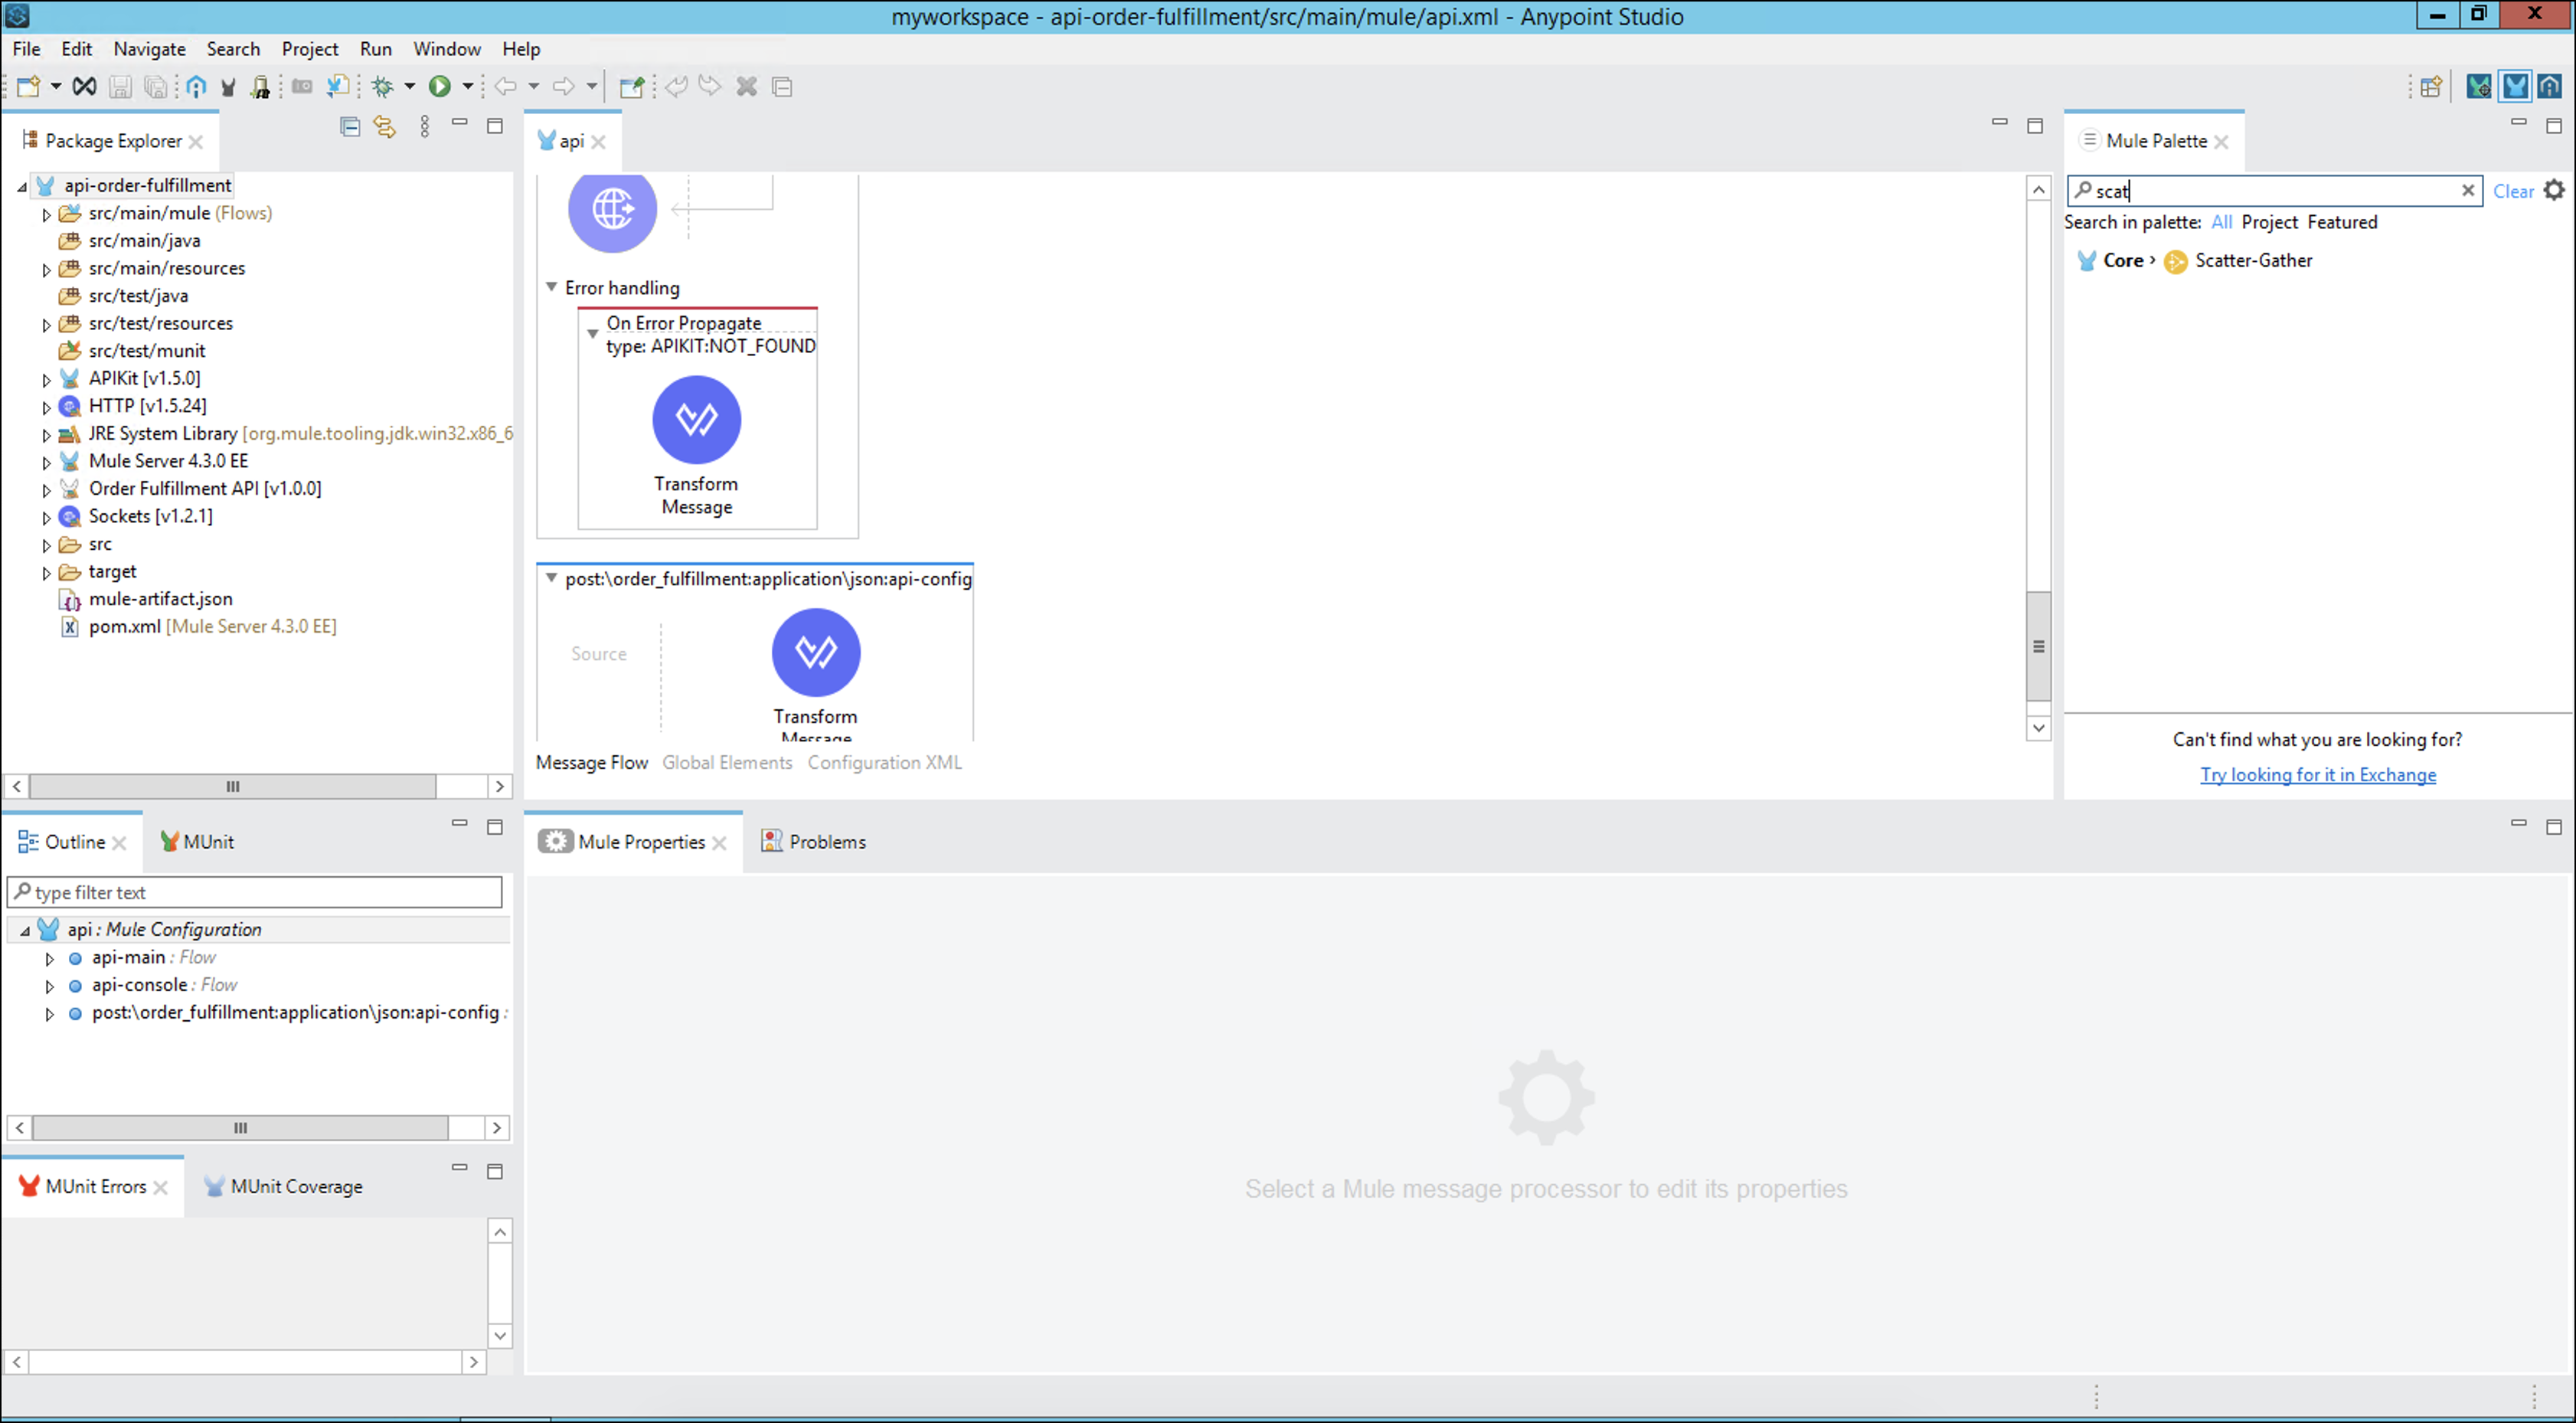
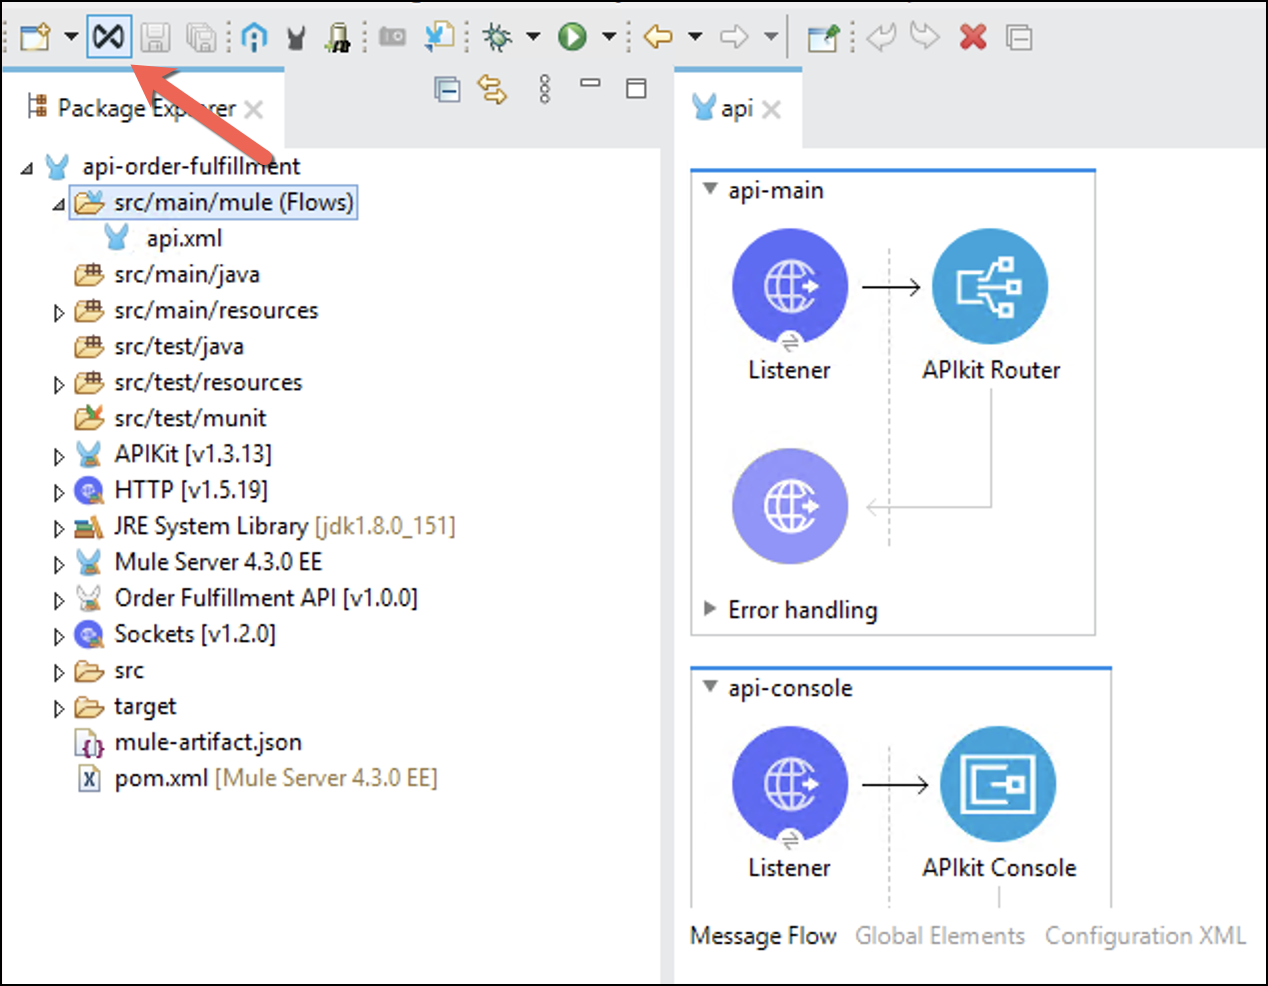
Let’s start with implementing the post:\order_fulfillment:application\json:order-fulfillment-api-config back-end flow.
-
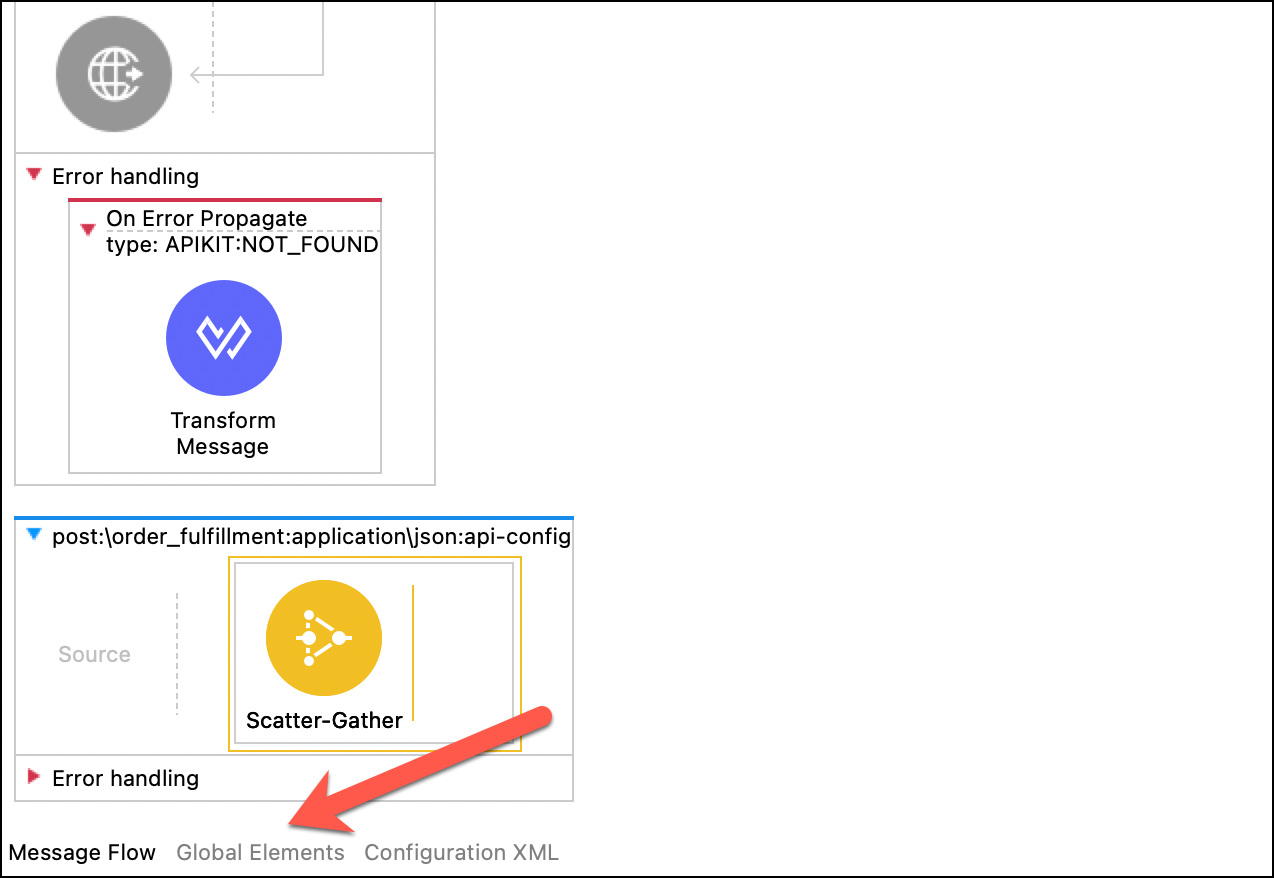
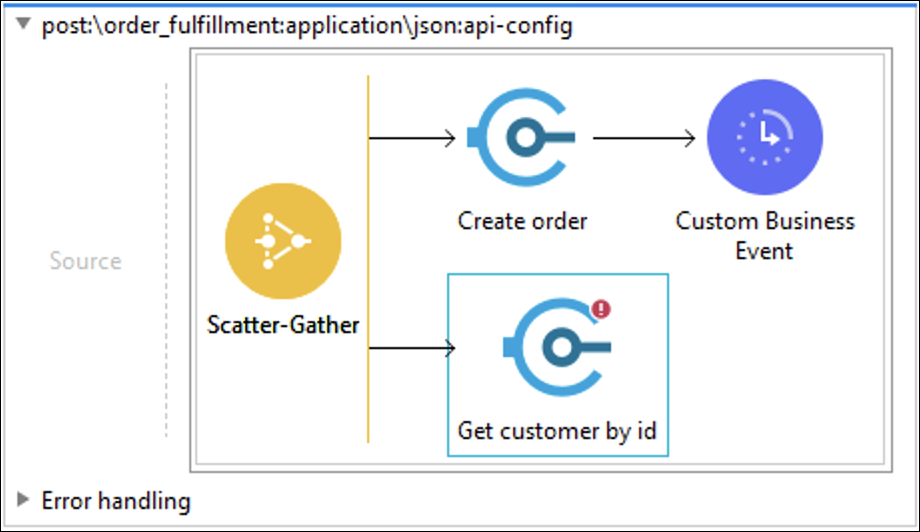
Back in the flow diagram in Anypoint Studio, click on the Transform Message from the flow named post:\order_fulfillment:application\json:order-fulfillment-api-config
-
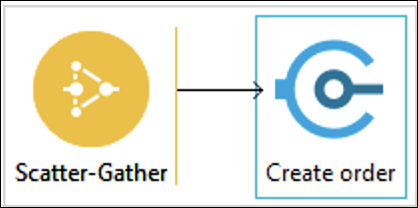
Remove the transform component and add a scatter gather.
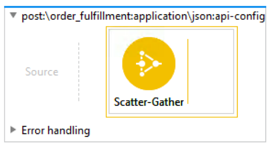
Scatter-Gather sends a request message to multiple targets concurrently. It collects the responses from all routes, and aggregates them into a single message.
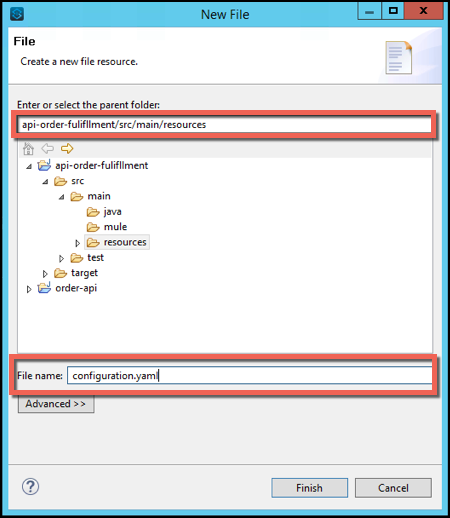
Step 2: Create a configuration file
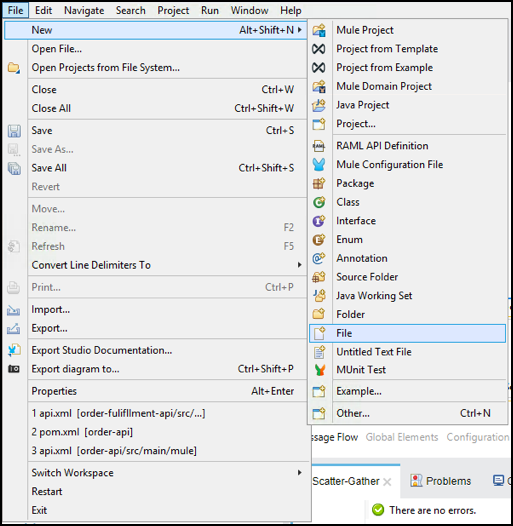
We want to allow easy configuration of the project by using configuration files. To do that we are going to create a yaml file with the configuration of the properties that are going to be used along the lab.
-
On the Menu Go to File → New → File
-
Complete the File name property with
configuration.yamlMake sure that you are creating in the api-order-fulfillment/src/main/resources folder
-
Press Finish
-
Copy and paste the following values
system:
  api:
    host:
      customers: mythical-customer-api-v4-0.cloudhub.io
      orders: mythical-order-api-v4-1.us-e1.cloudhub.io
One of the benefits of using YAML is that the information in a single YAML file can be easily translated to multiple language types.
-
In the api.raml file, go to the Global Elements Tab.
-
Press Create button

-
Filter by
Configurationand select Configuration properties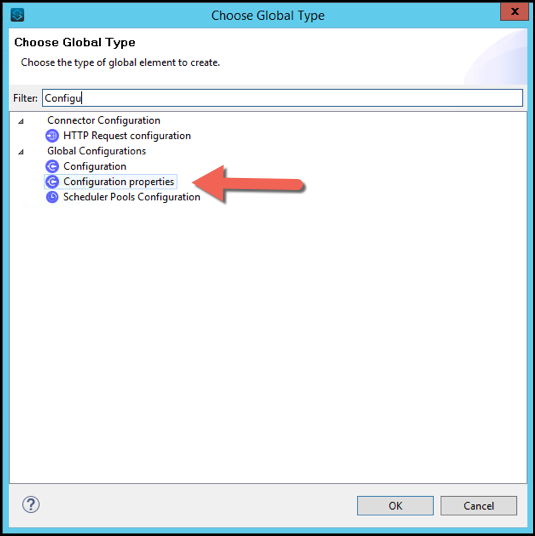
-
Press OK
-
Complete the File property with the value
configuration.yaml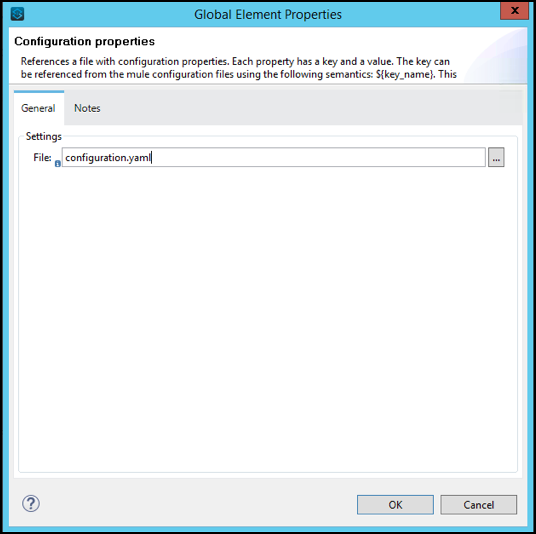
-
Press OK
Step 3: Order API - Consume Connector
We’ll start with calling the Order API, which is using the REST API Modeling Language (RAML) for its definition. Each time you create a RAML Spec and you publish into Exchange, a new connector is generated. We need to add this module to our project.
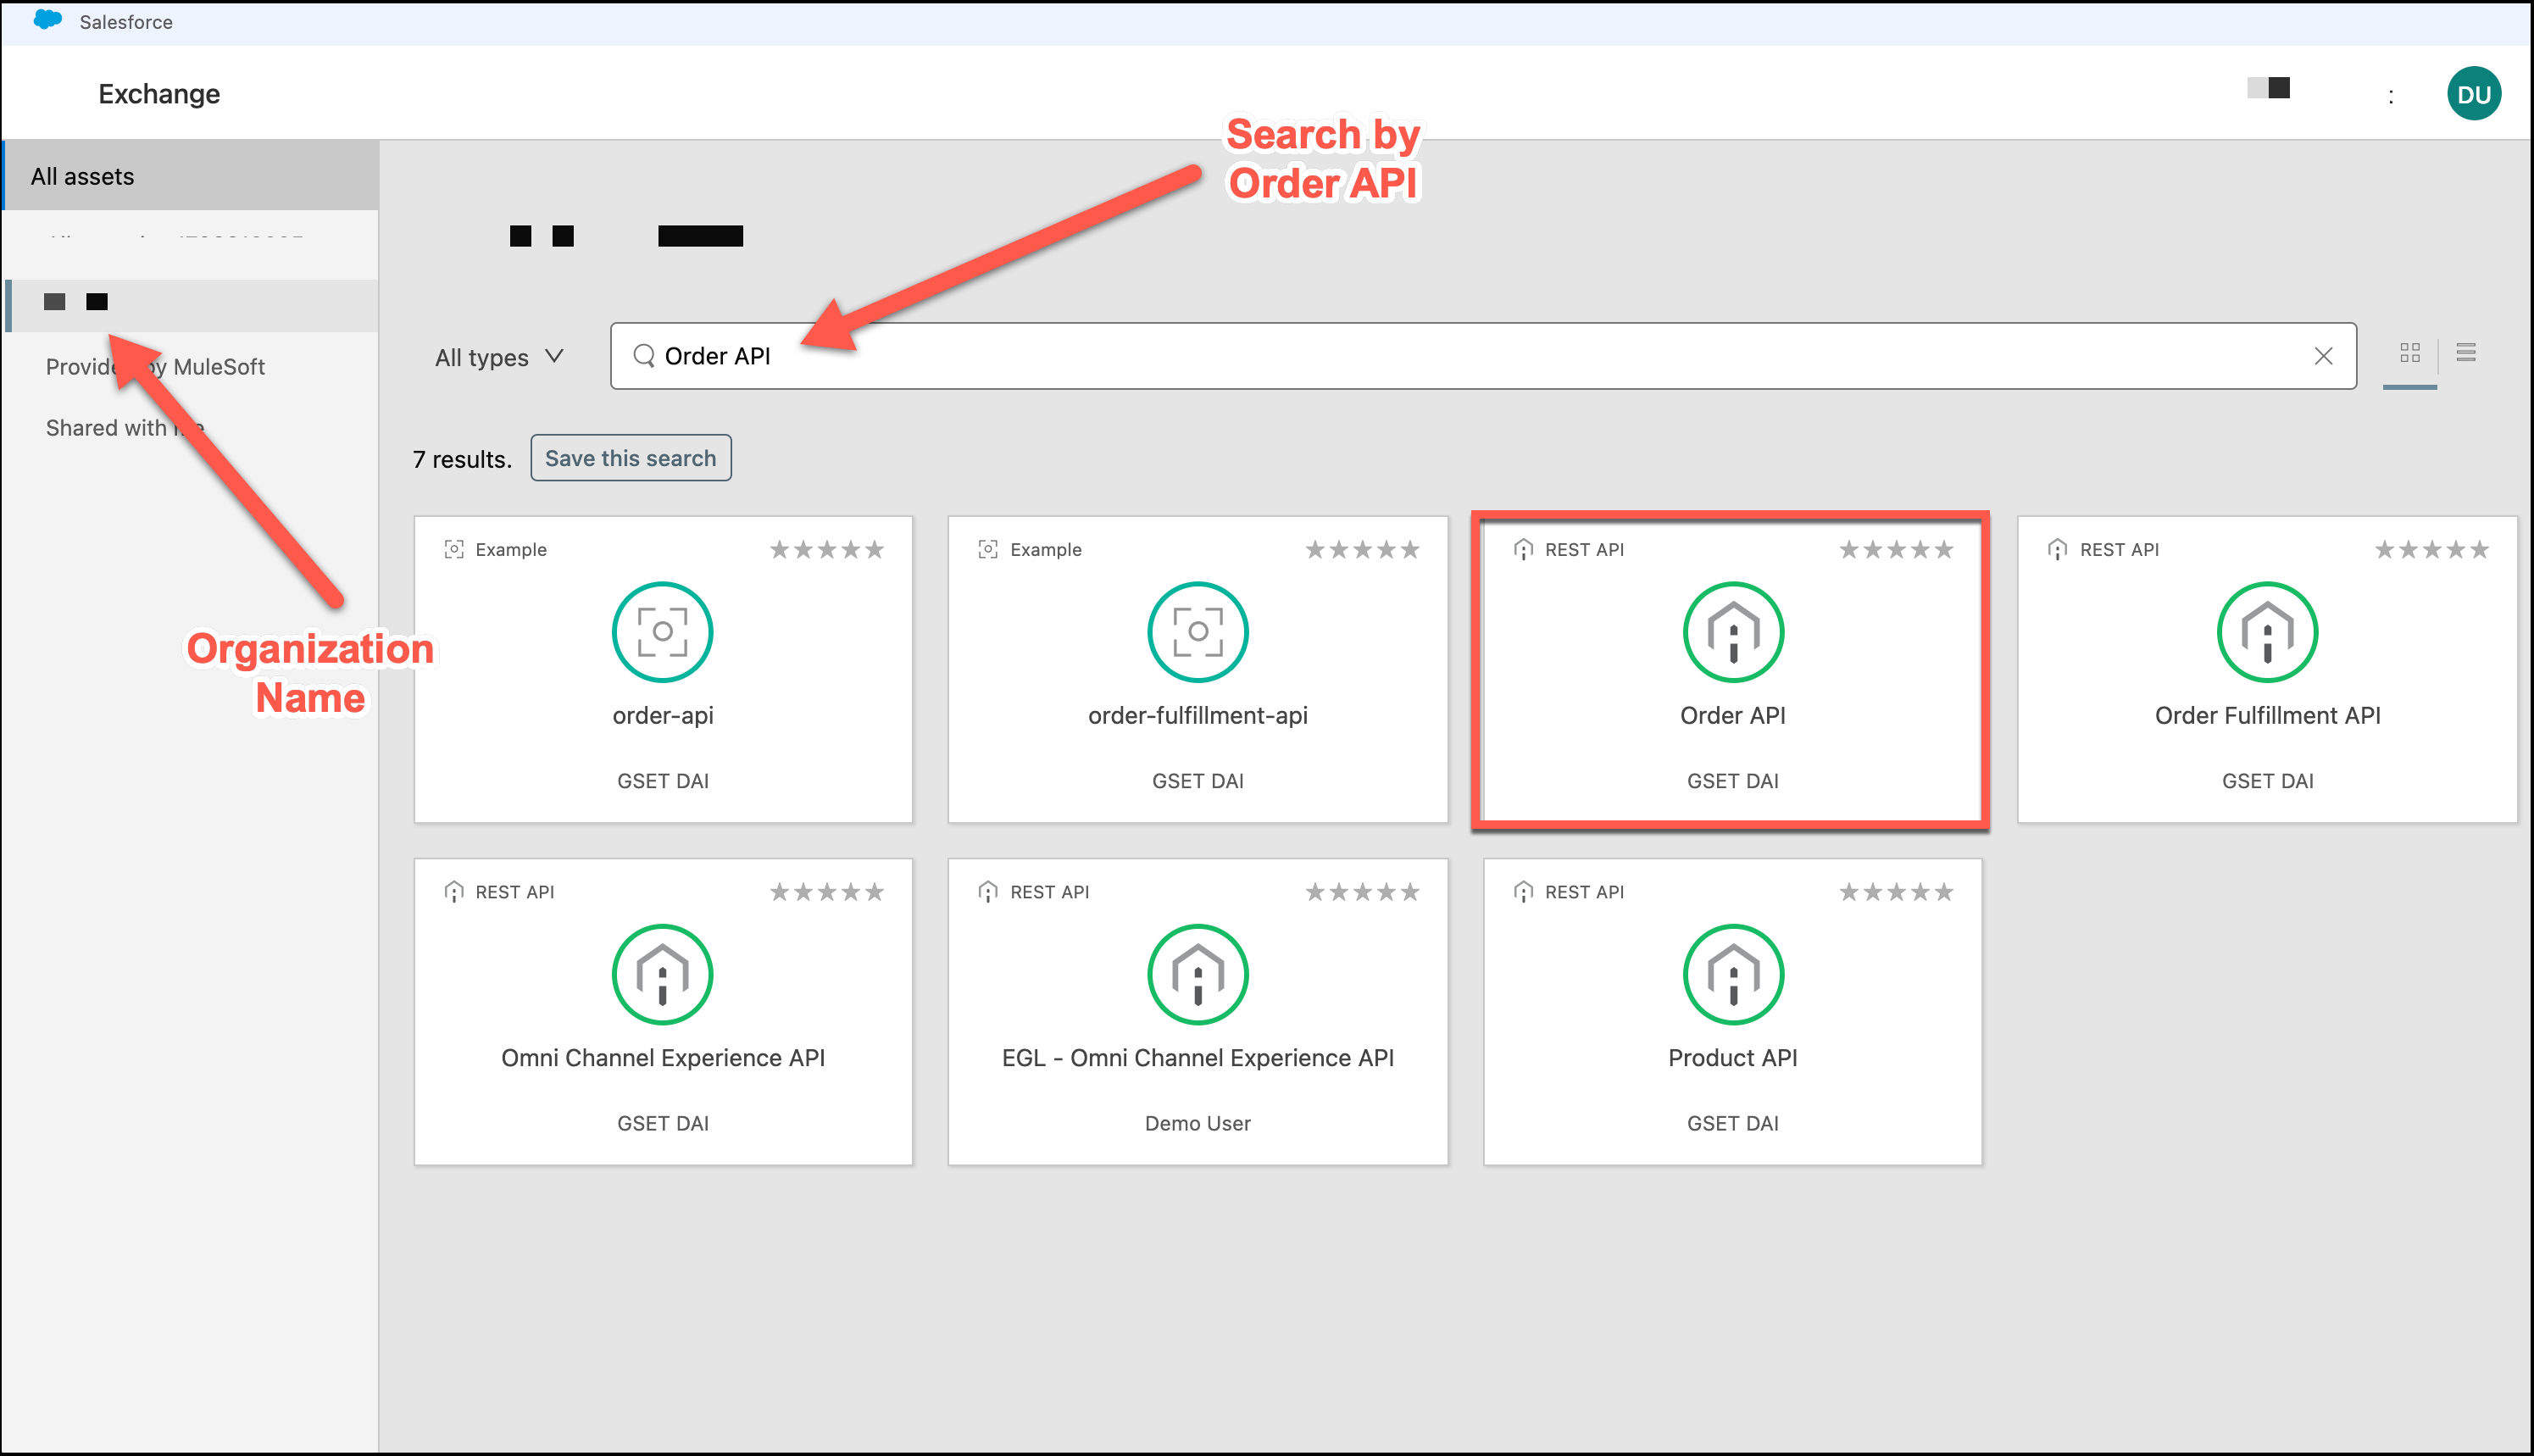
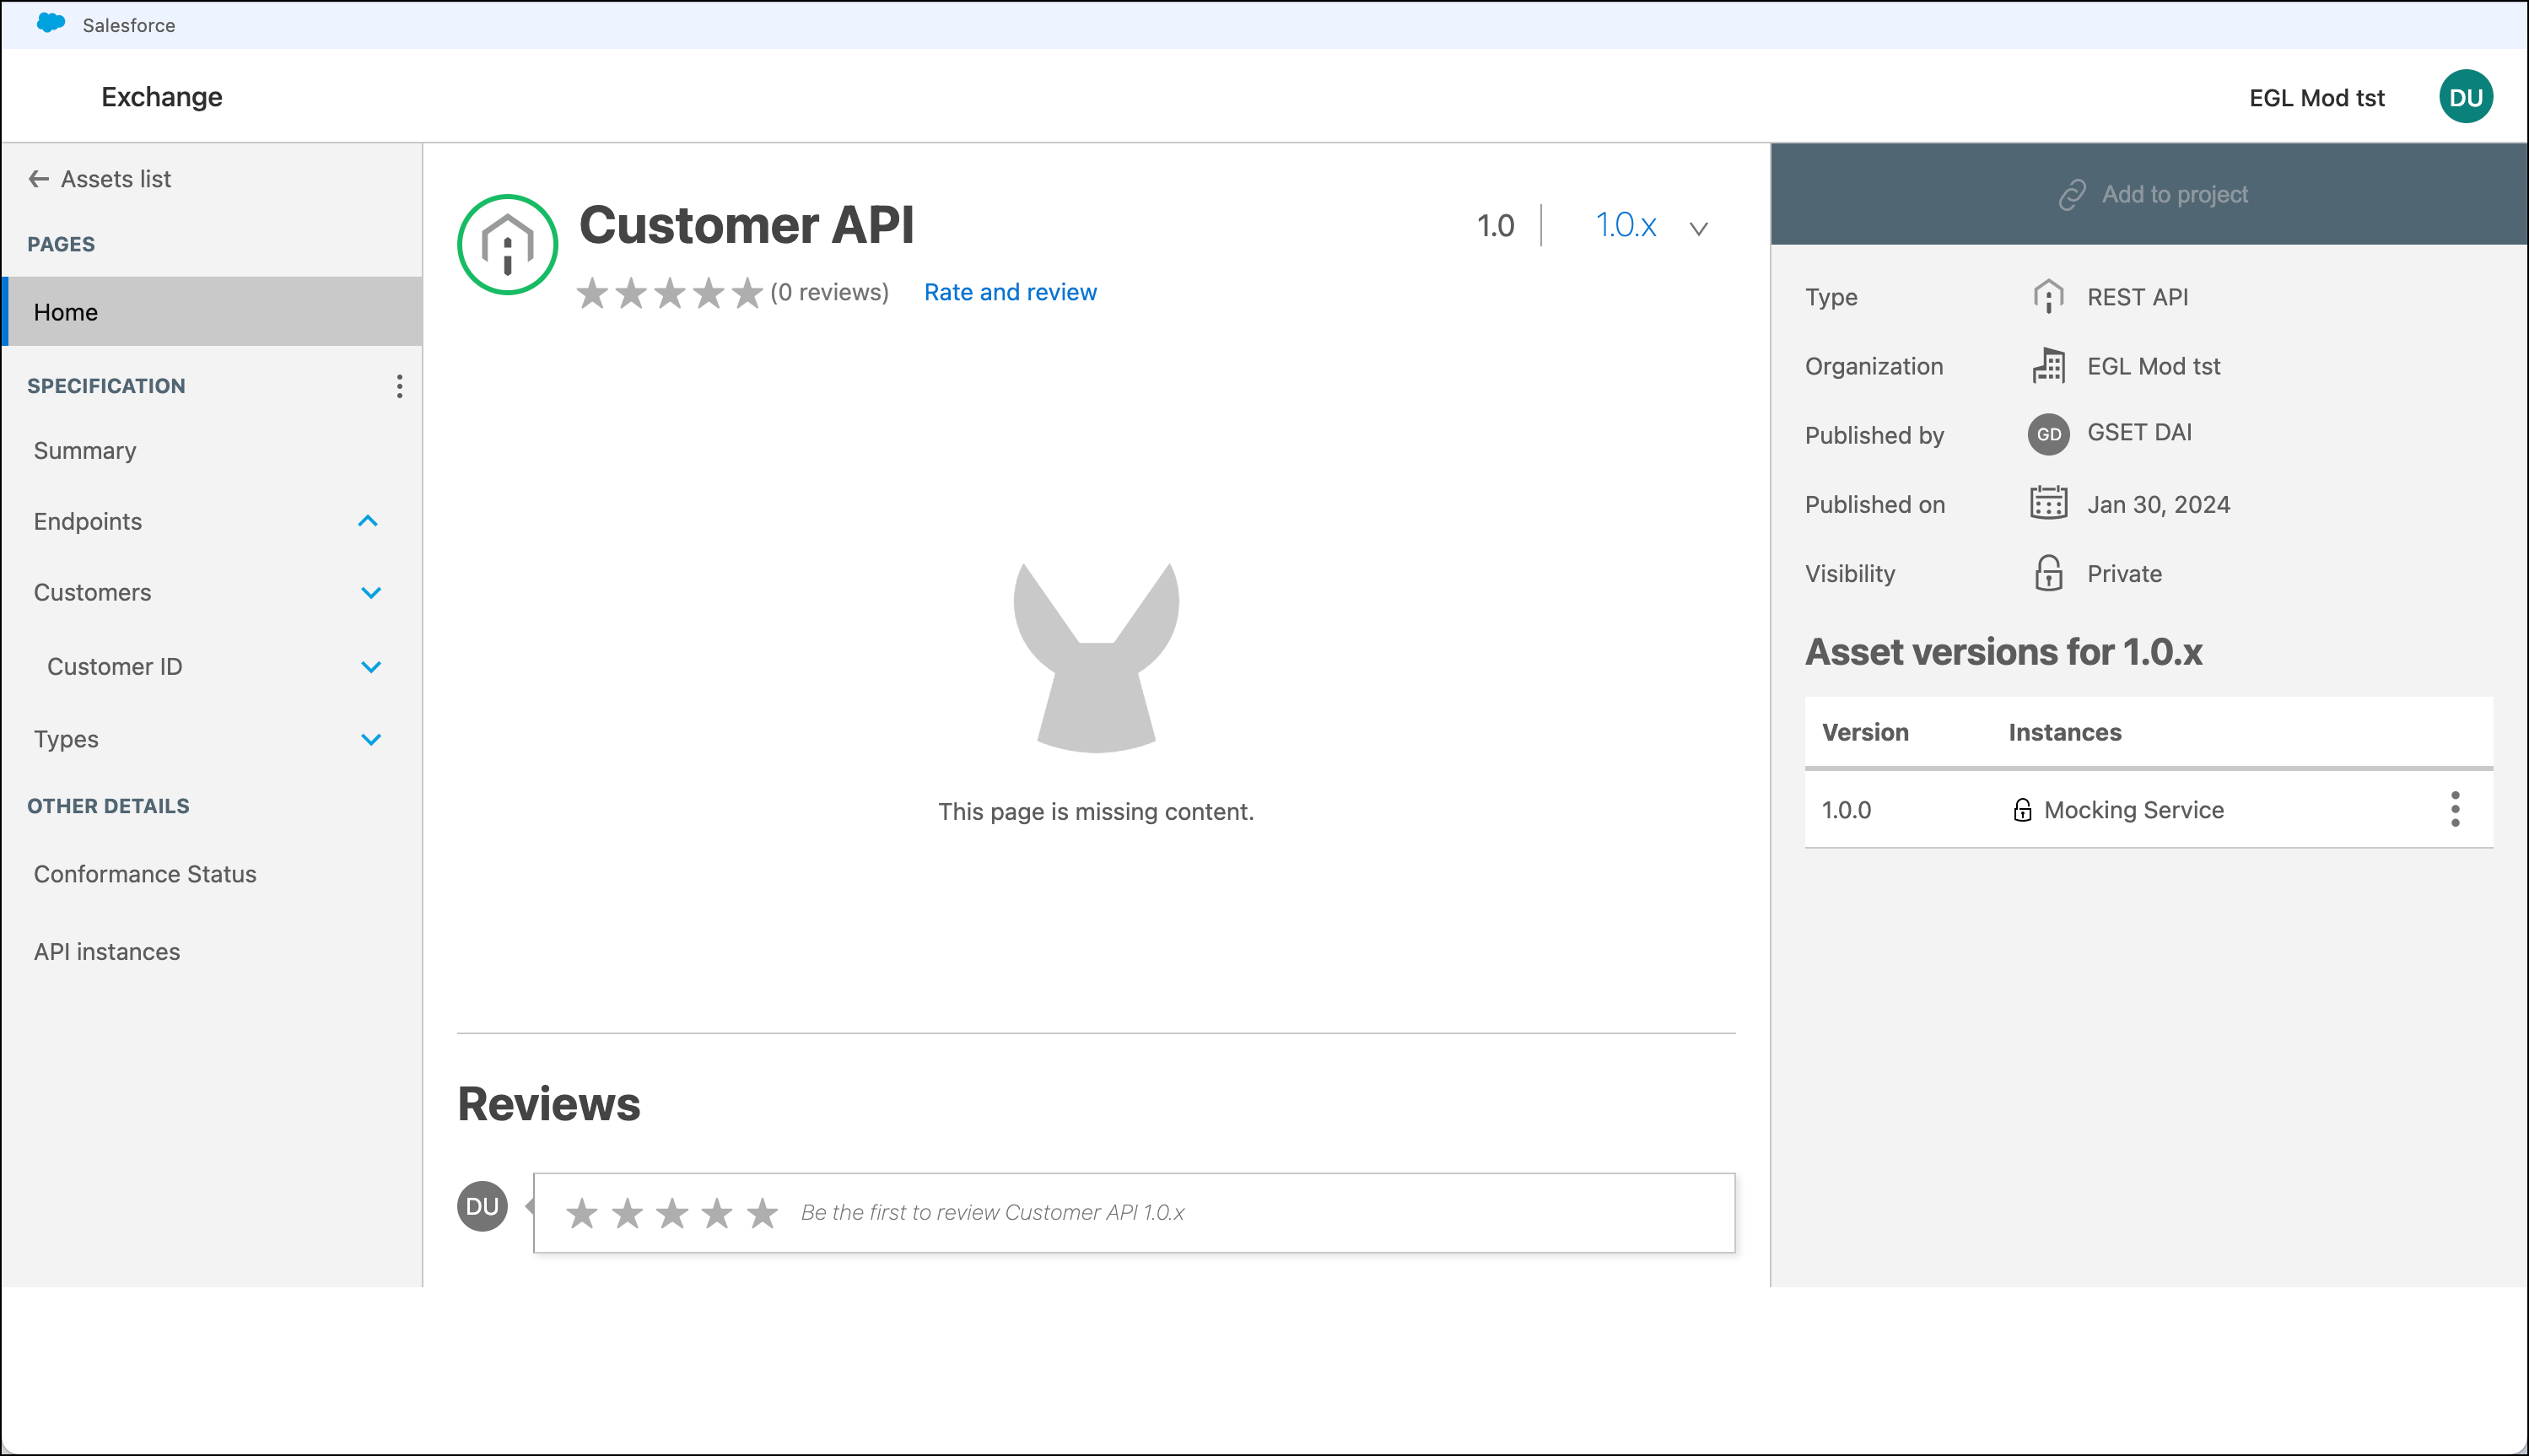
Preview the Order API by taking a look at its API definition in Exchange.
-
Click on the Exchange Icon
Login with your credentials if necessary.
-
On the Organization Name, search for Order API
-
Click on the Order API and explore the API Portal

-
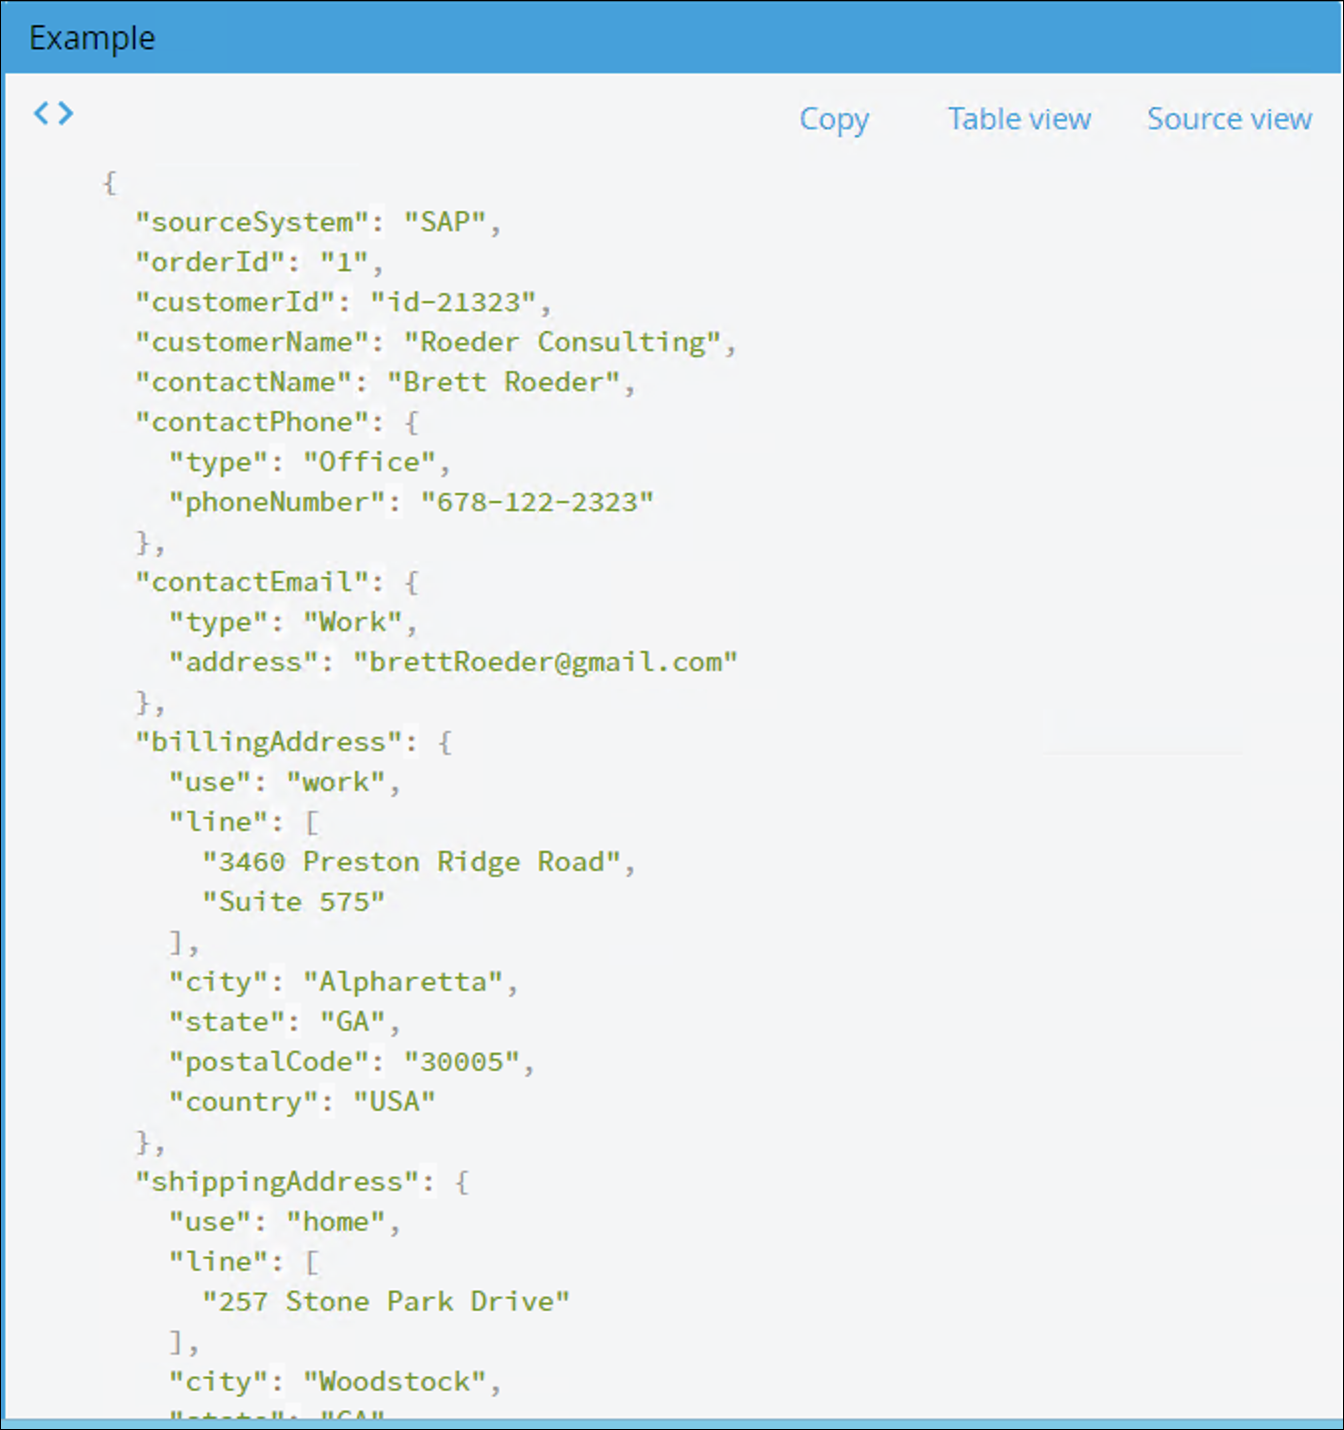
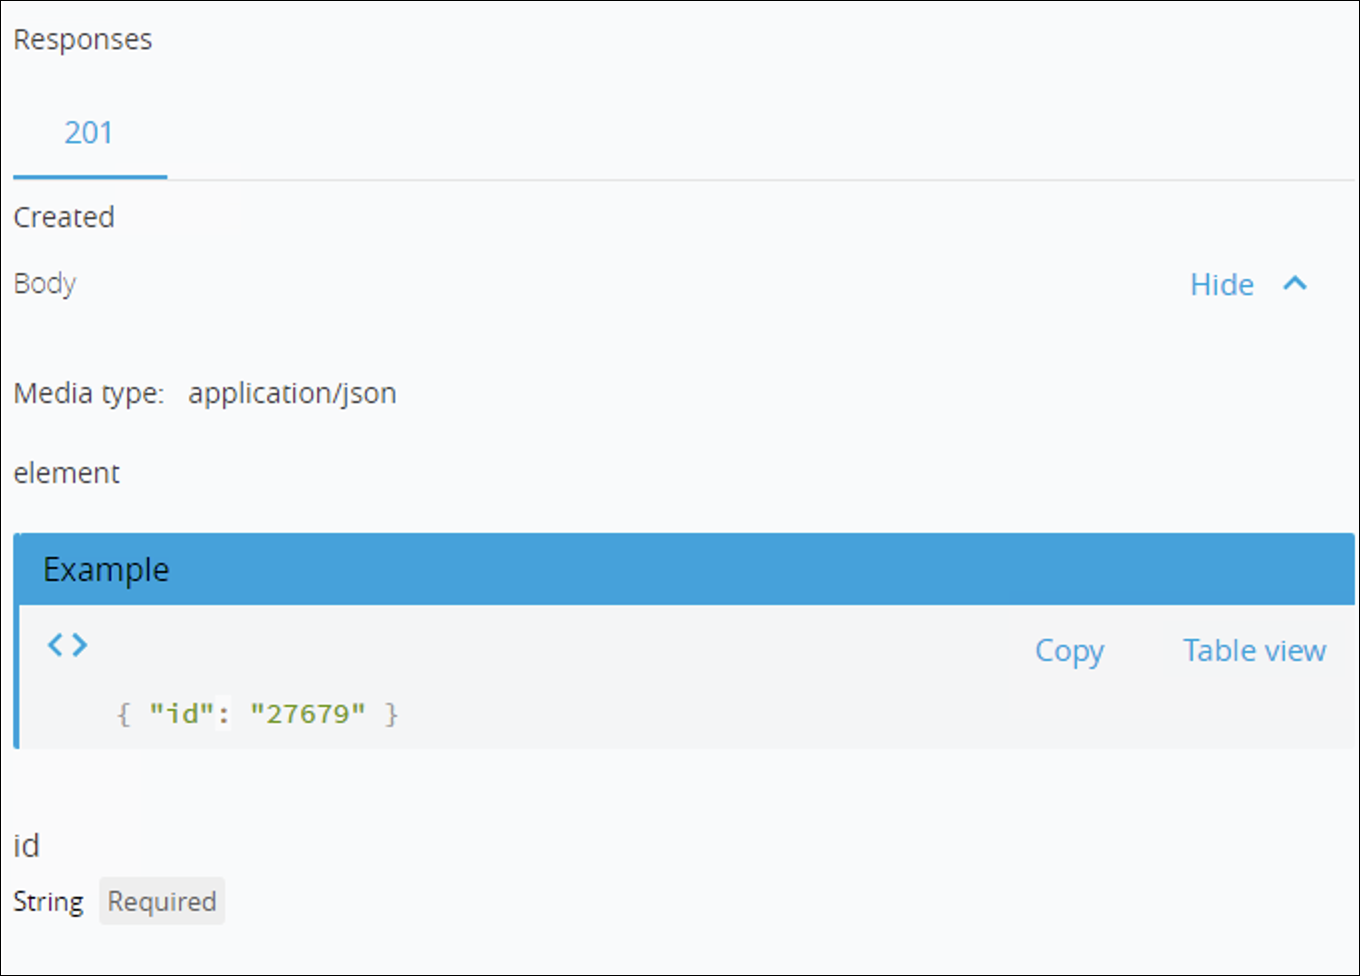
Let’s look in details how the POST Method request and response body.
-
Click Add to project
-
A warning pop up window will appear press Proceed
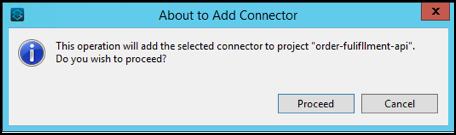
A window will appear telling that the import was successful.
After Pressing OK, the Order API module will be ready to be used in the palette.
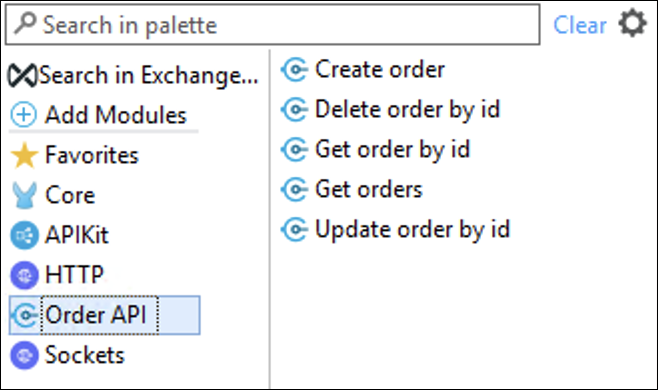
The connector version can change. Be sure that is the last version. -
Drag and Drop Create order from the Order API
-
Double-click on the connector to display its properties. You should see the component properties for you to configure in the Mule Properties View.
-
Click on the
 icon to create a new configuration as shown:
-
Complete the Request Configuration
-
Host:
mythical-order-api-v4-1.us-e1.cloudhub.io -
Port:
80 -
Base Path:
/api -
Protocol:
HTTPNotice the Host value has the same value we configured in the configuration.yaml file for the Order API URL So we changed the value to ${system.api.host.orders}
Notice the Response timeout value is 10000 (expressed in milliseconds). That means the timeout for all the calls to this API is 10 seconds. You can adjust it based on your requirements.
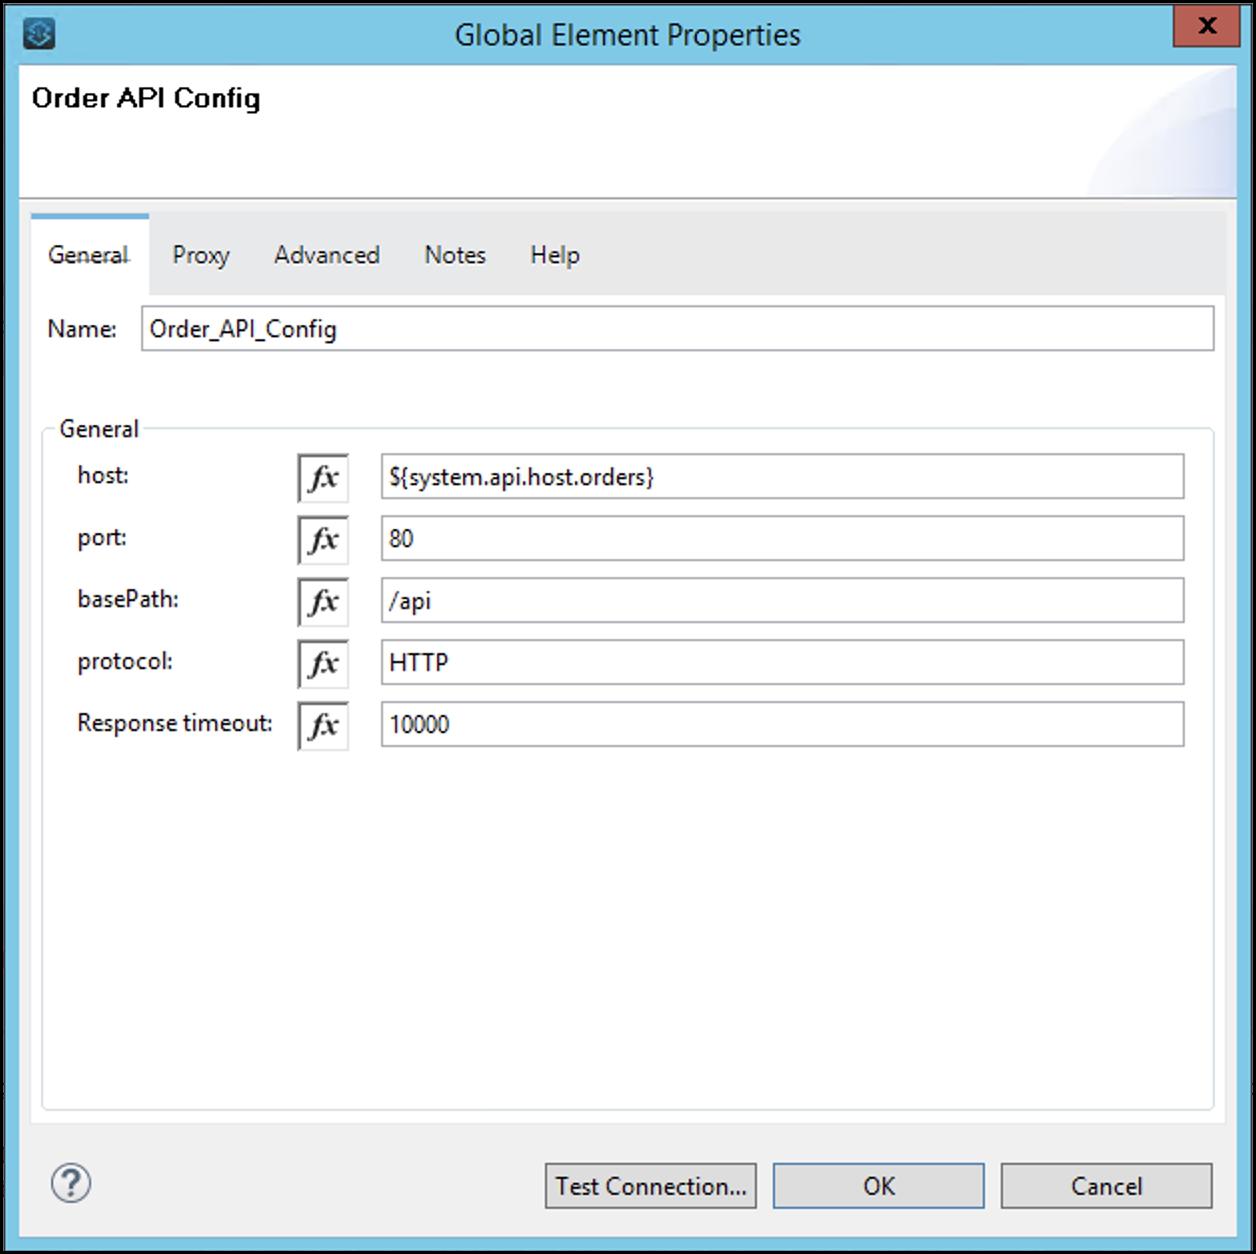
Check the protocol, by default it says HTTPS, but the service is HTTP
-
-
Click OK
-
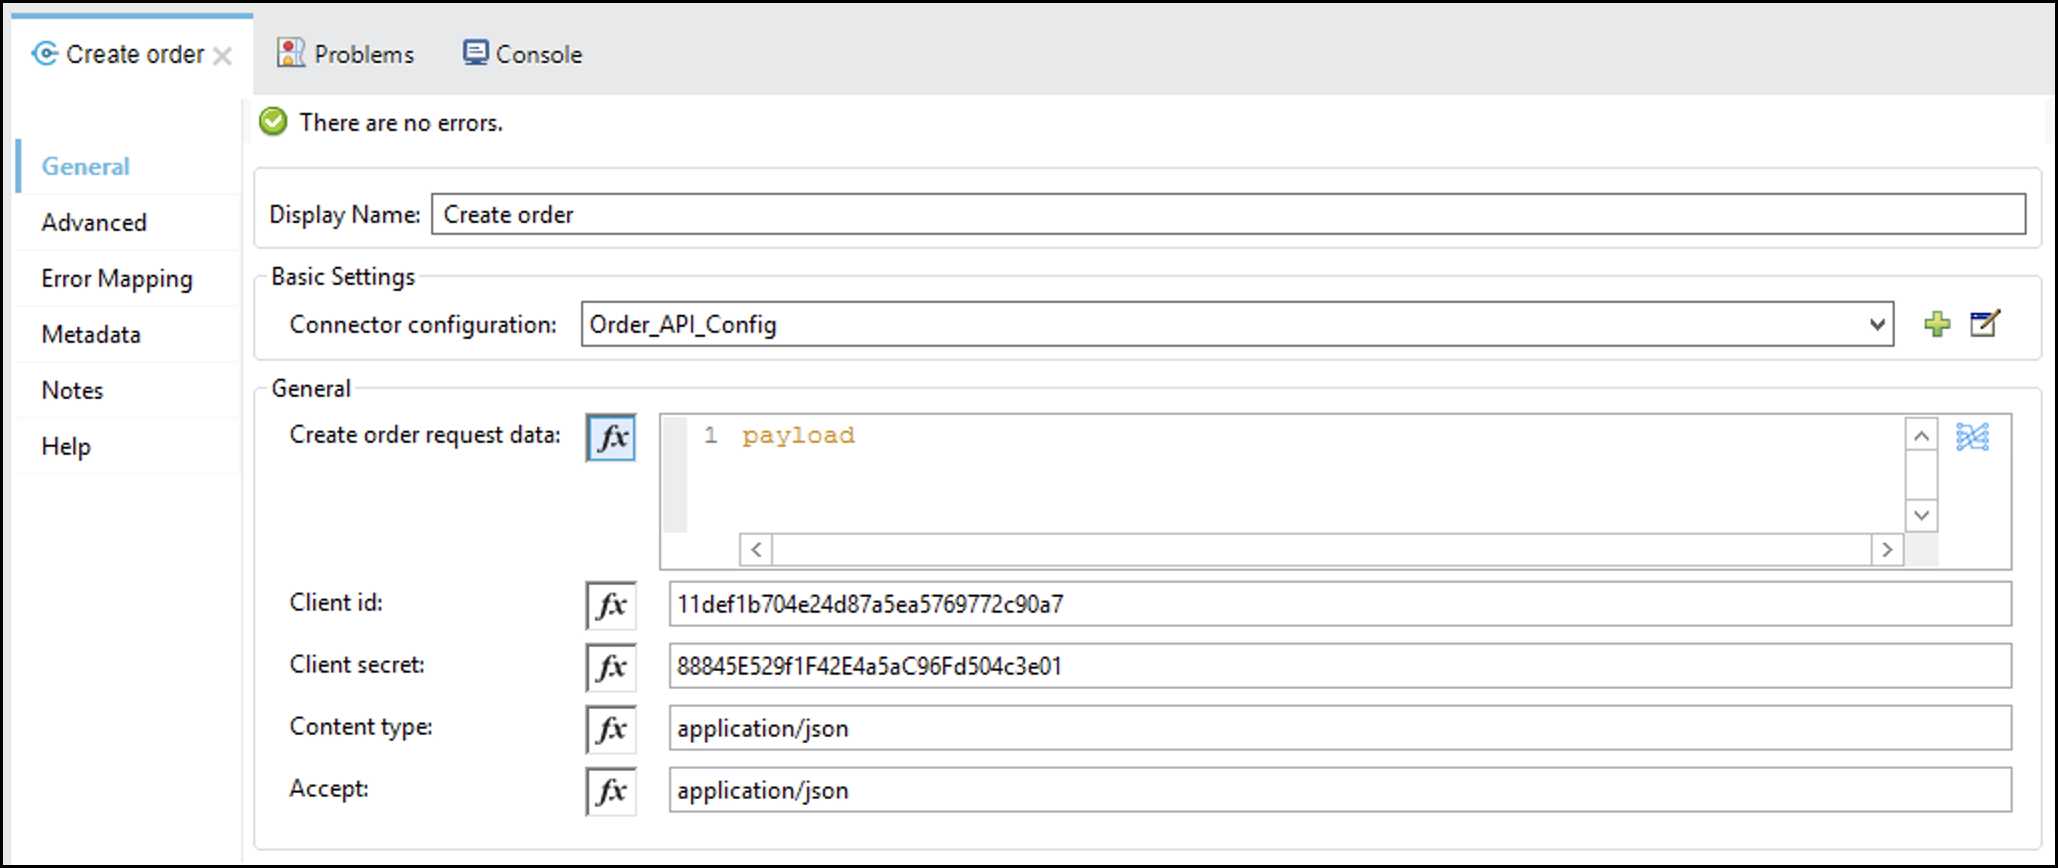
In the General section, set the following parameters:
-
Create order request data:
#[payload] -
Client id:
11def1b704e24d87a5ea5769772c90a7 -
Client secret:
88845E529f1F42E4a5aC96Fd504c3e01 -
Content type:
application/json -
Accept:
application/jsonThe configuration should look similar to this:
You can click on the
 and do a field by field mapping.
-
-
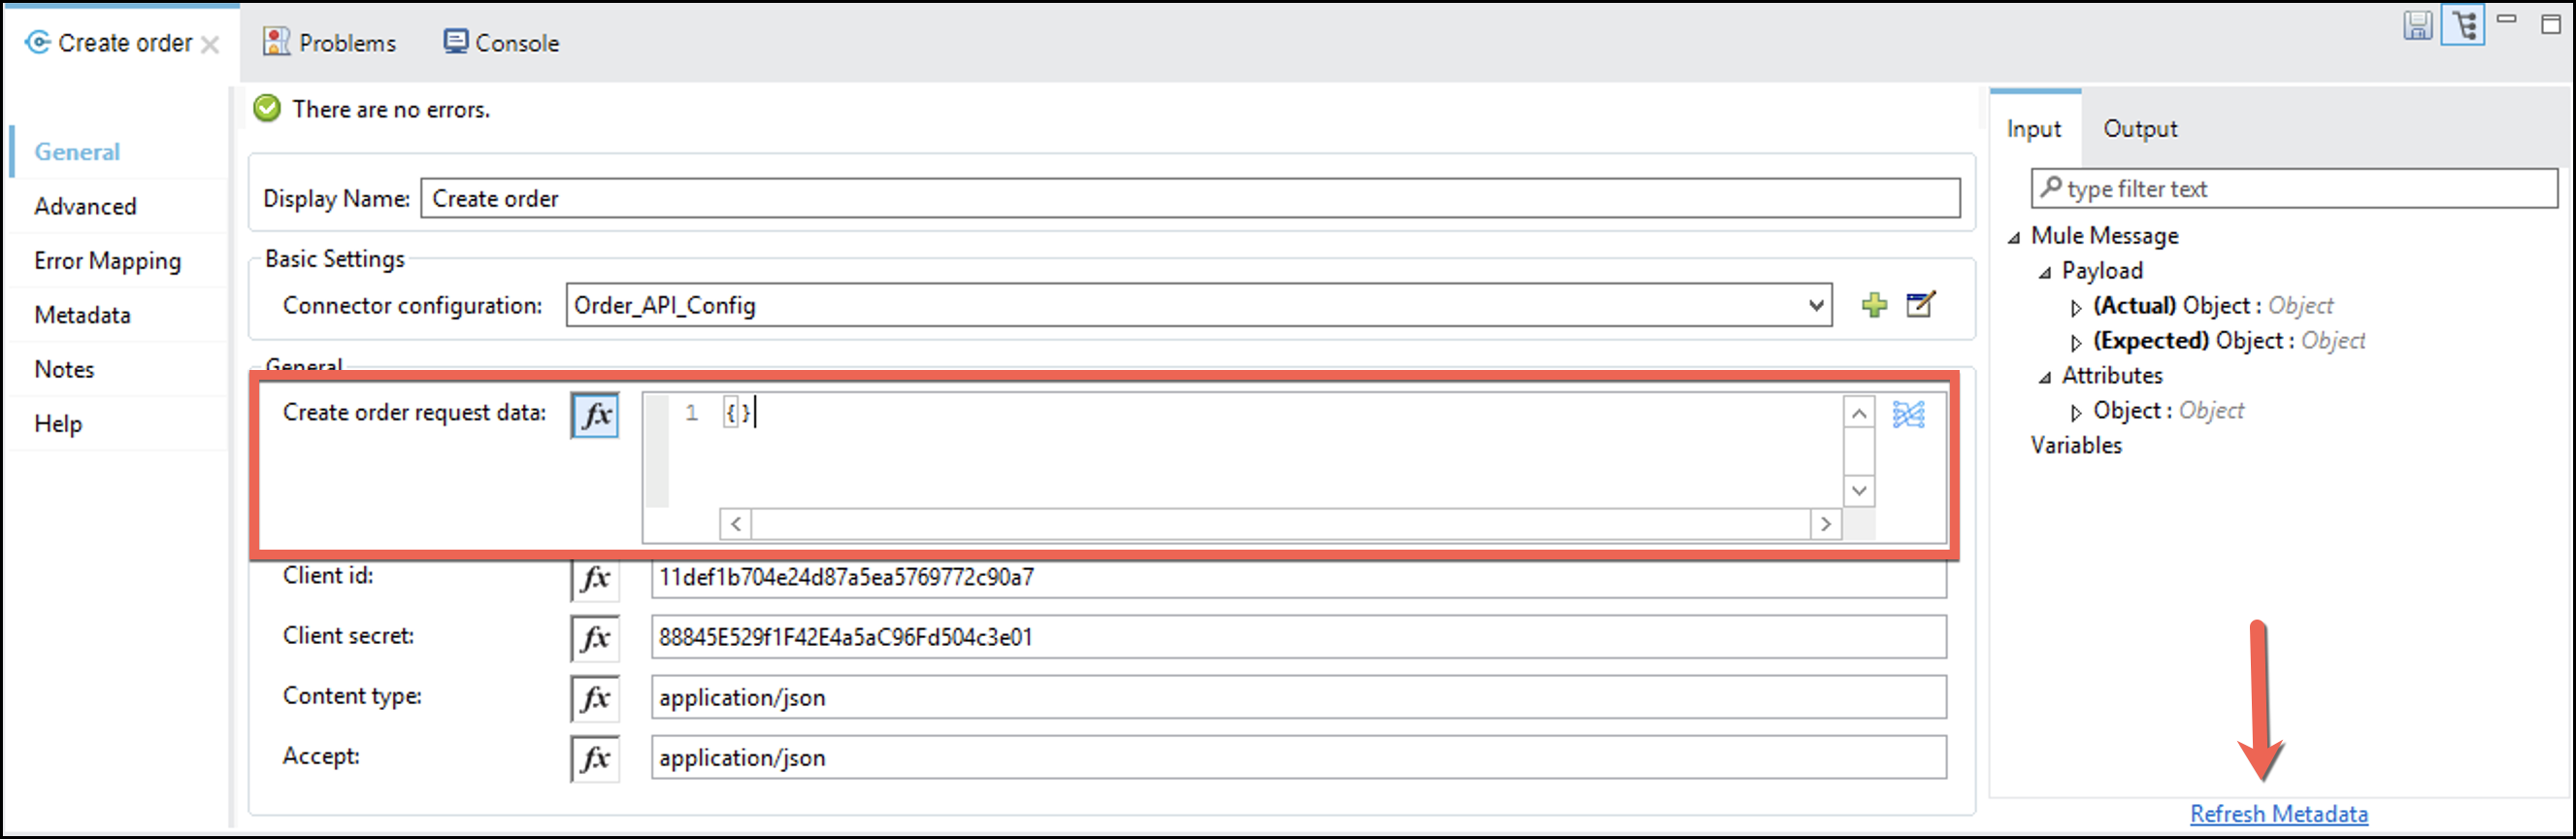
Remove the
payloadword from the Create order request data: box and add{}. -
Press Refresh Metadata button.
-
Click the
button. We are going to transform the messages going in and out of the RAML Consumers. -
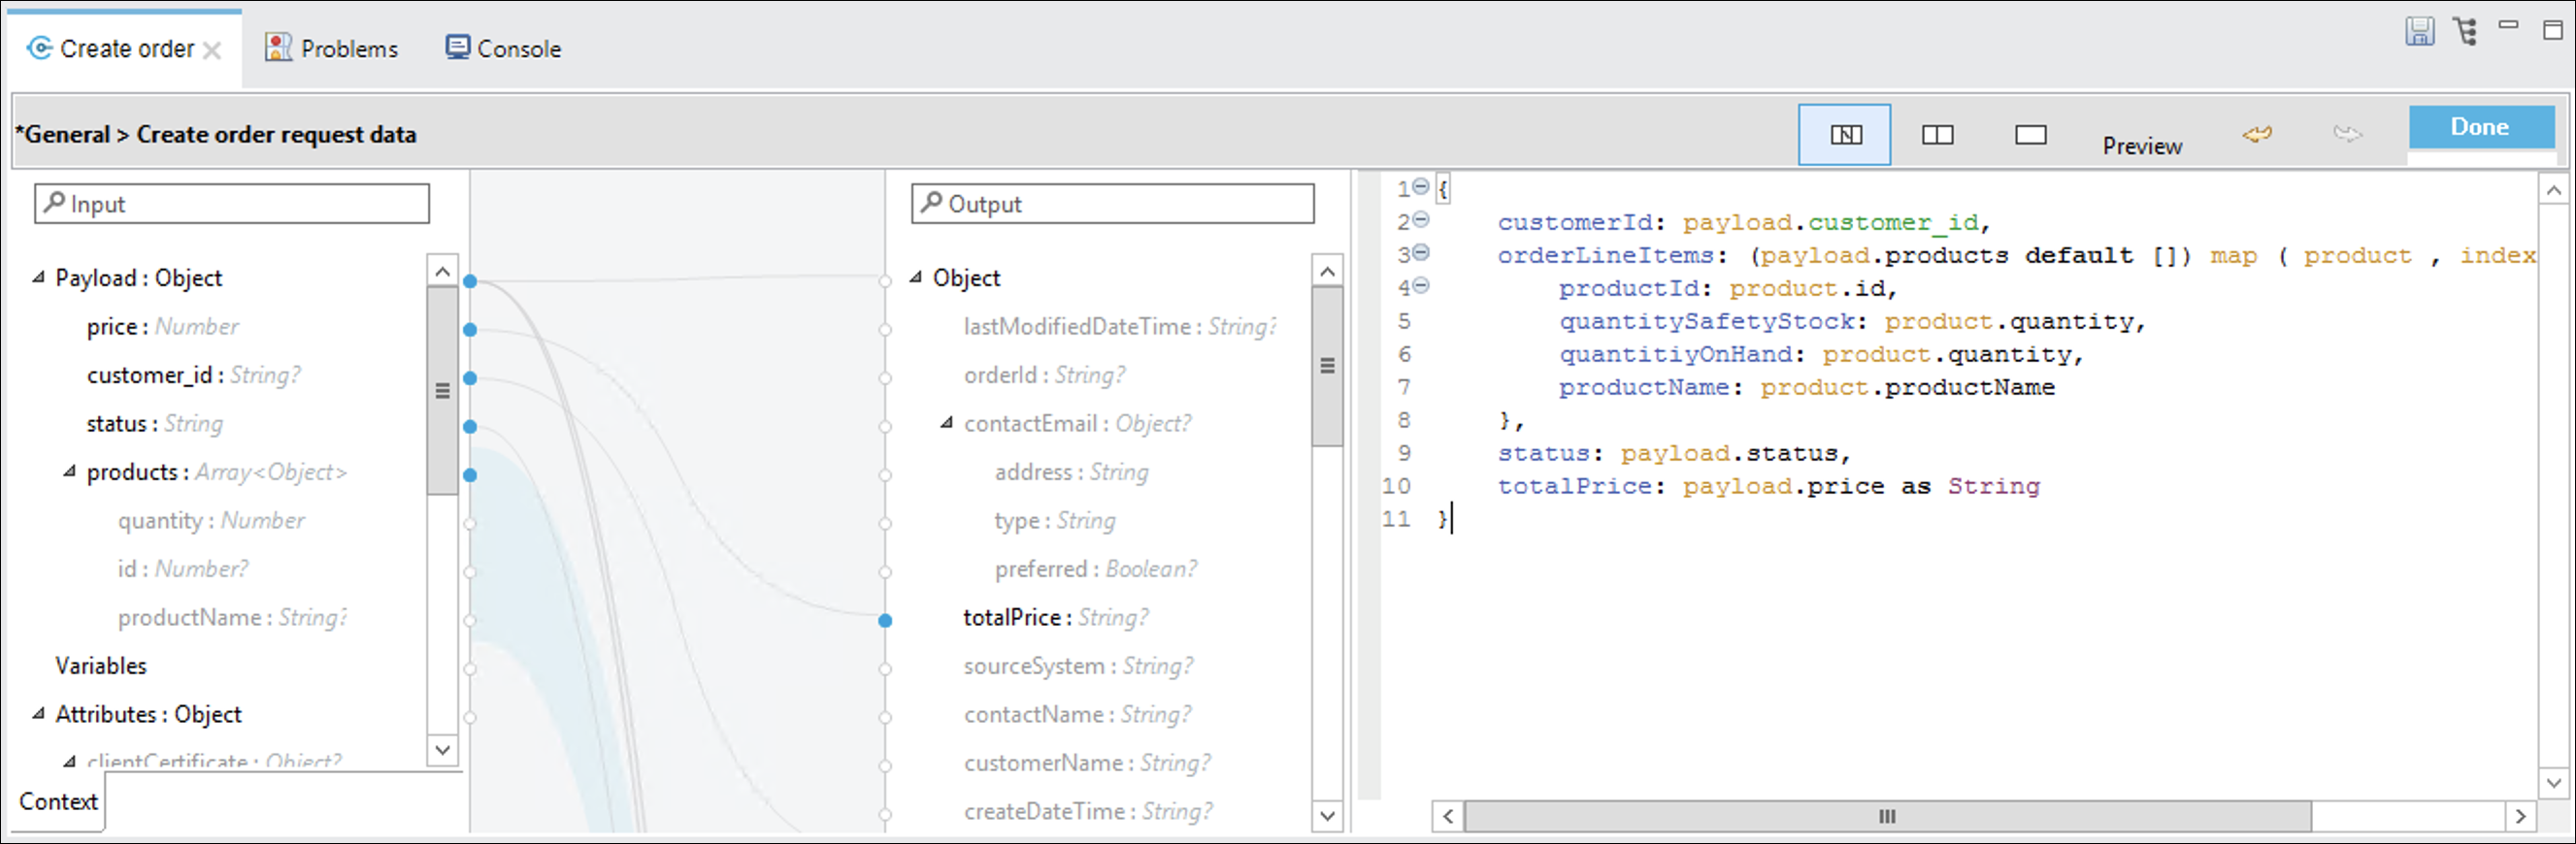
Map the fields from the POST call of the Order Fulfillment API to the fields required for the POST call of the Order API. Paste the following DataWeave script into the DataWeave code editor:
{ customerId: payload.customer_id, orderLineItems: (payload.products default []) map ( product , indexOfProduct ) -> { productId: product.id, quantitySafetyStock: product.quantity, quantitiyOnHand: product.quantity, productName: product.productName }, status: payload.status, totalPrice: payload.price as String } -
The mapping should look like the following.
-
Press the
 button.
We don’t want to change the original payload, so we are going to save the Order Id to a variable.
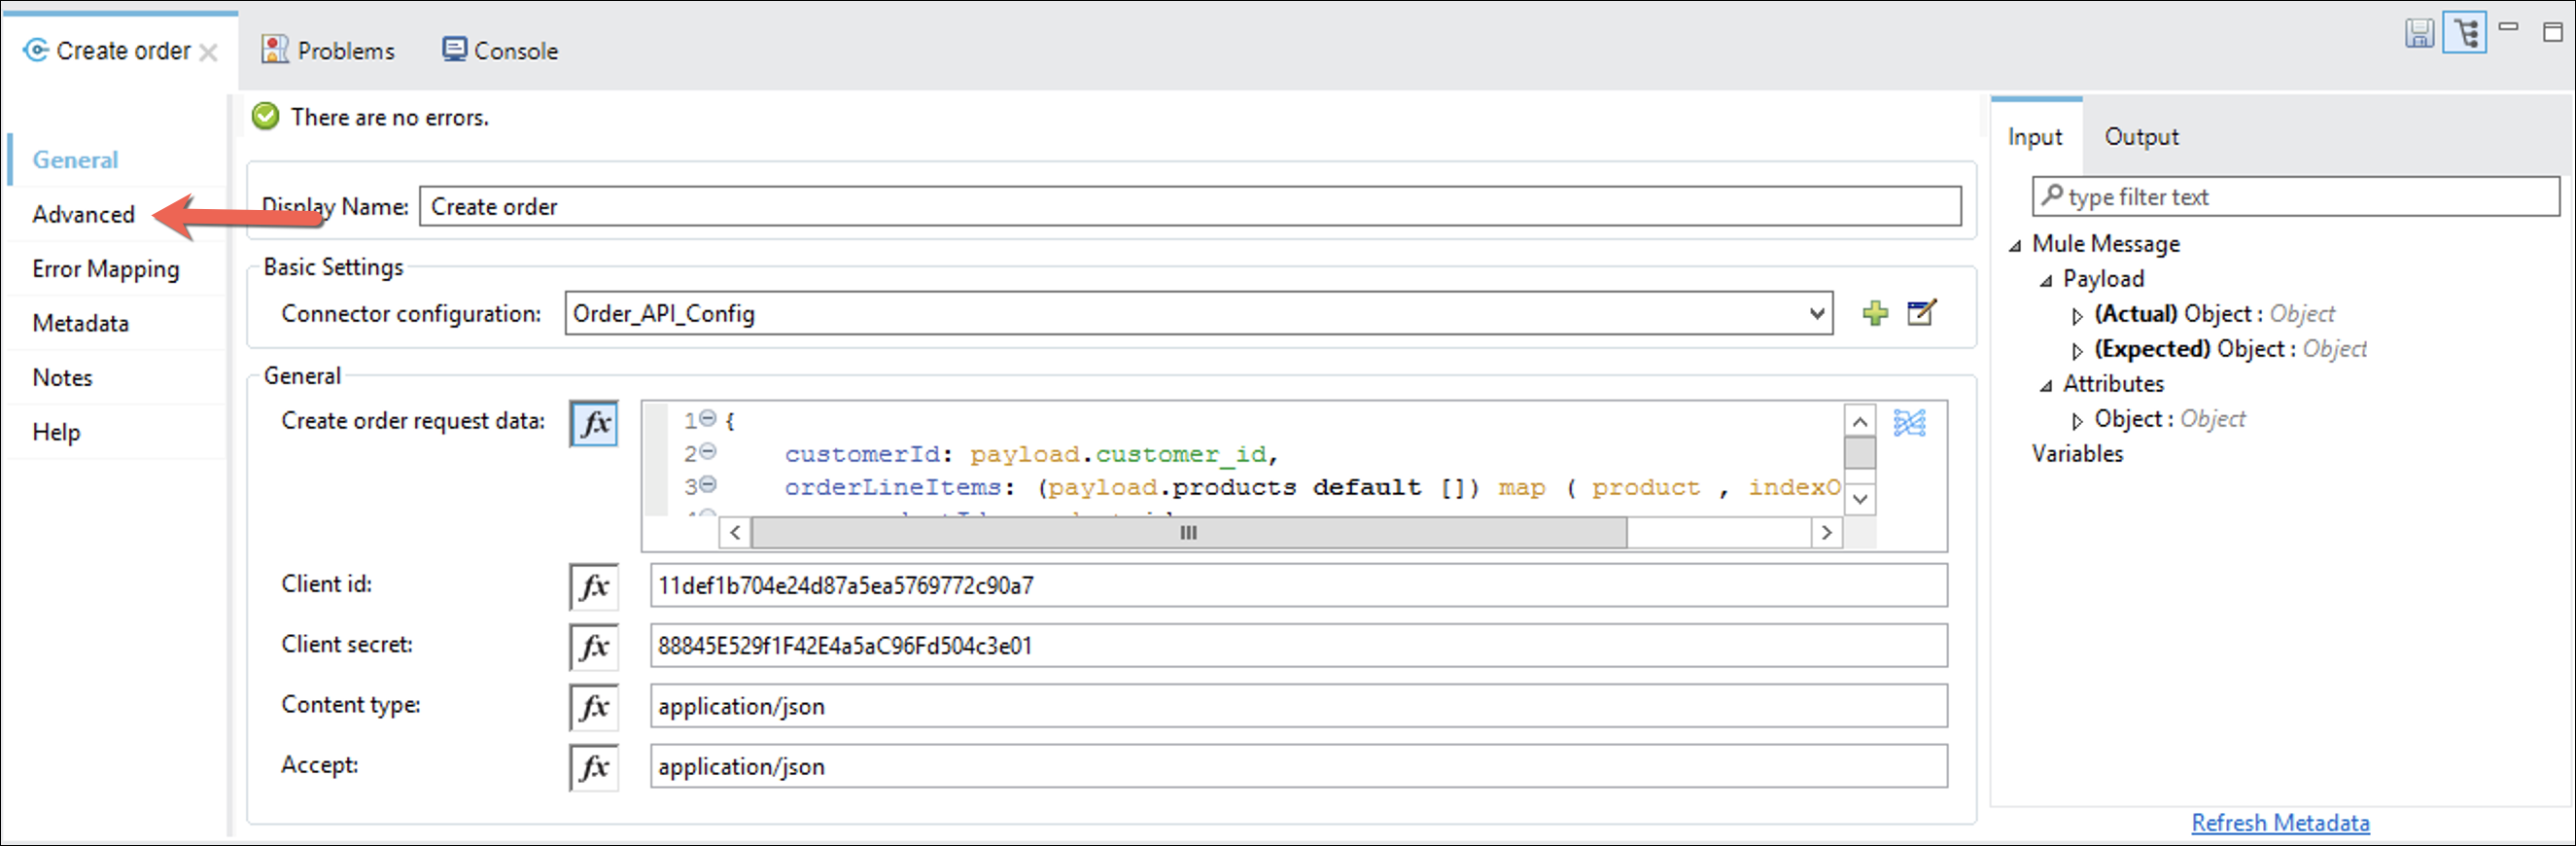
If you are not in the Create Order configuration. Click on the connector so you focus on its configuration.
-
Go to the Advance Tab
-
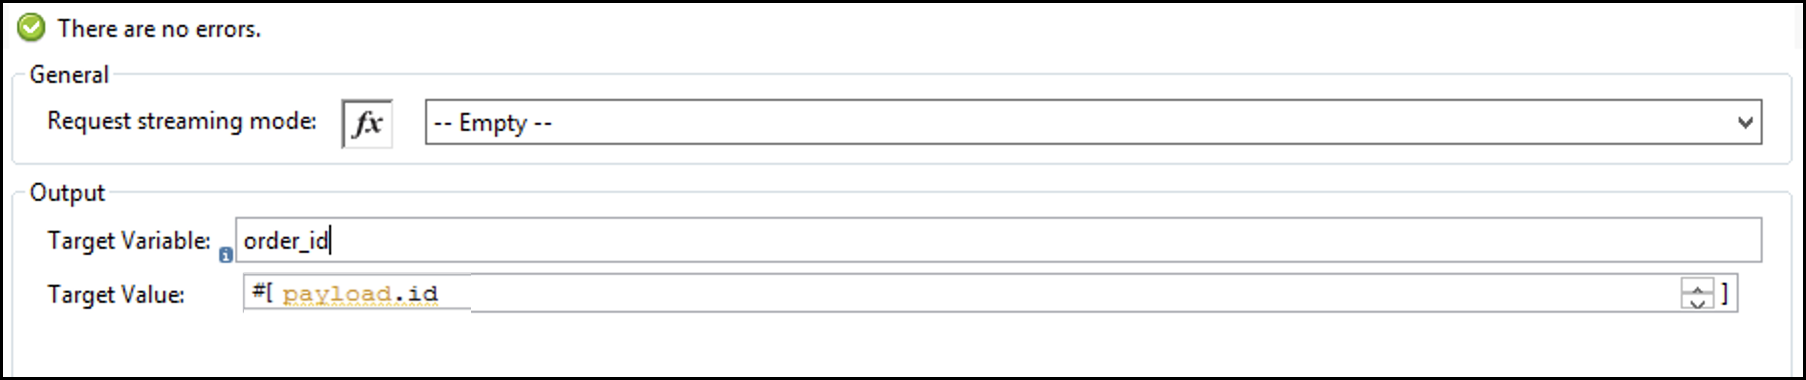
Let’s complete the table with the following data:
-
Name: Expression Value
-
Target Variable:
order_id -
Target Value:
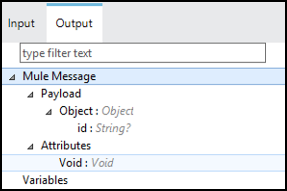
#[payload.id]We know the output because we checked the API Spec in Exchange. You can also go to the Output tab and check in the Payload tree.
-
-
Search for "Business" in the component palette.
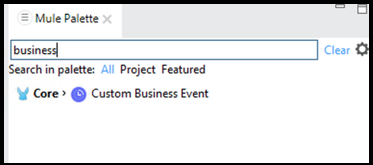
-
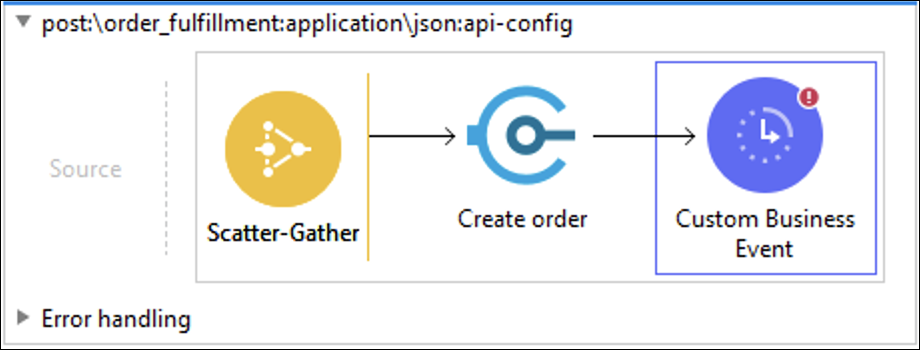
Drag-and-drop a Custom Business Event connector onto the canvas after the Connector component.
-
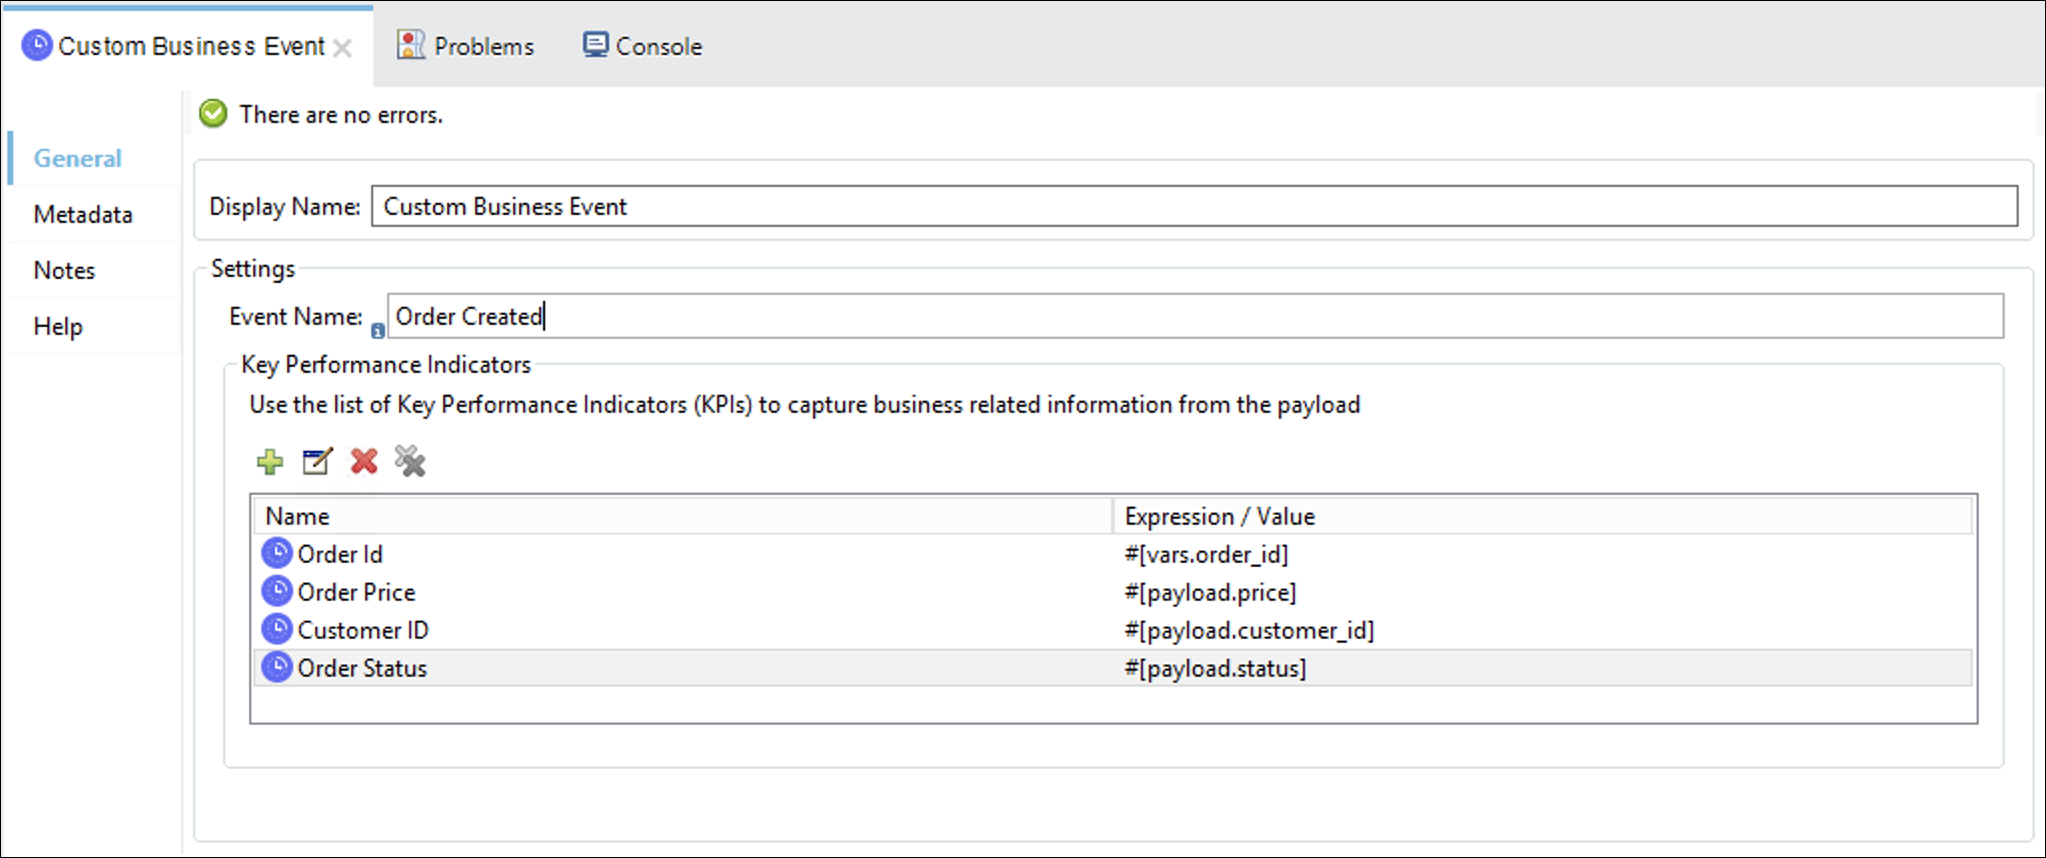
Double-click on the Custom Business Event icon to display its properties. You should see the component properties for you to configure in the Mule Properties View.
-
Add a meaningful name for the operation in the Display Name and the Event Name field like Order Created Event.
-
Under the Key Performance Indicators section, click on
to add the following KPIs:-
Name: Expression Value
-
Order id: #[vars.order_id]
-
Order Price: #[payload.price]
-
Customer ID: #[payload.customer_id]
-
Order Status: #[payload.status]
-
Step 4: Customer API - Consume Connector
Next we’ll call the Customer API to retrieve additional information about the customer. Again we are going to add a REST connector to our project. In this case we are going to consume the Get By ID resource.
-
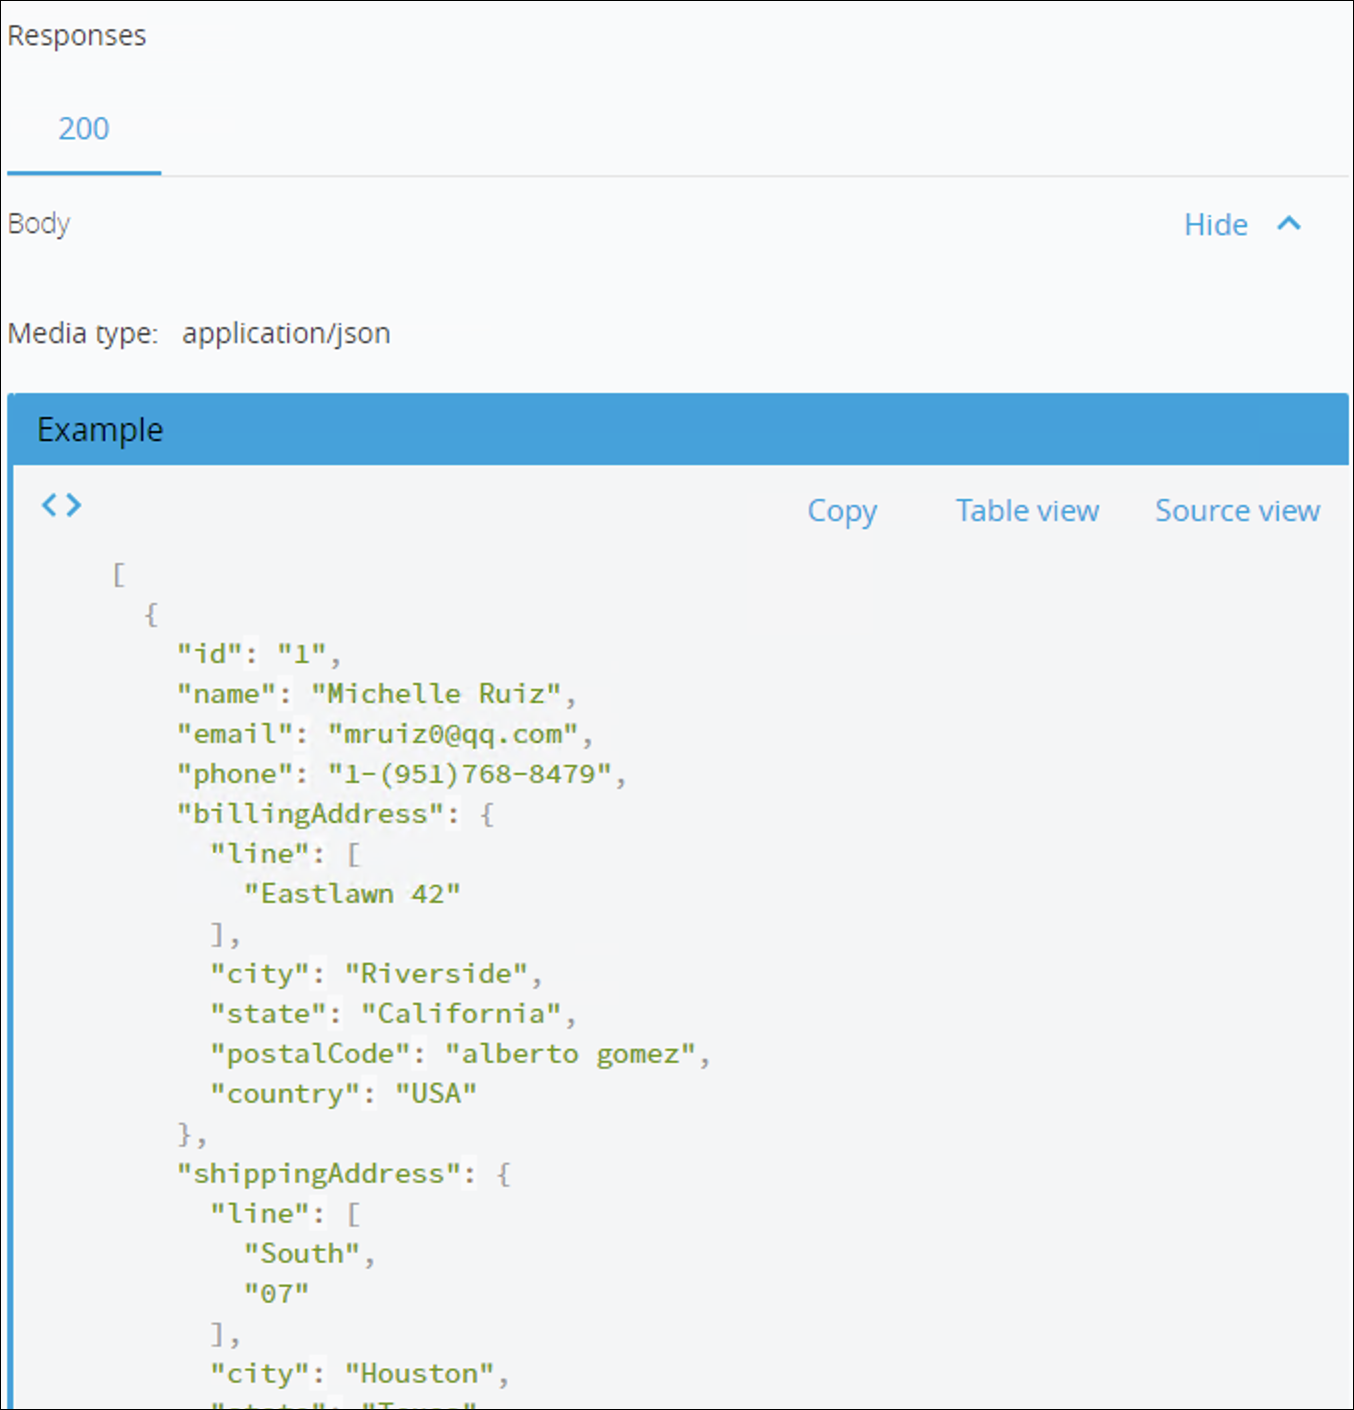
Preview the Customer API by taking a look at its portal in Exchange.
-
Go to Customers → GET and take a look at the response
-
Click Add to project button.
-
Follow the same steps you did to import the Order API Connector.
At the end, the Customer API module will be ready to be used in the palette.
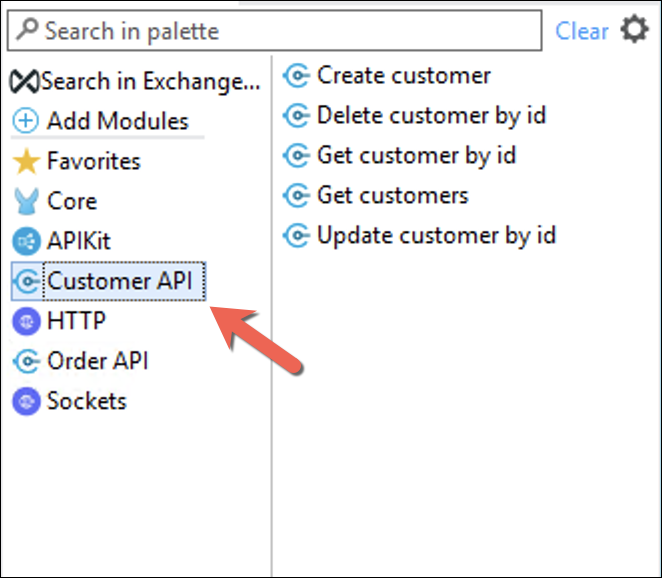
The connector version can change. Be sure that is the last version. -
Drag and Drop Get customer by id from the Customer API connector
-
Double-click on the connector to display its properties. You should see the component properties for you to configure in the Mule Properties View.
-
Click on
icon to create a new configuration as shown:
-
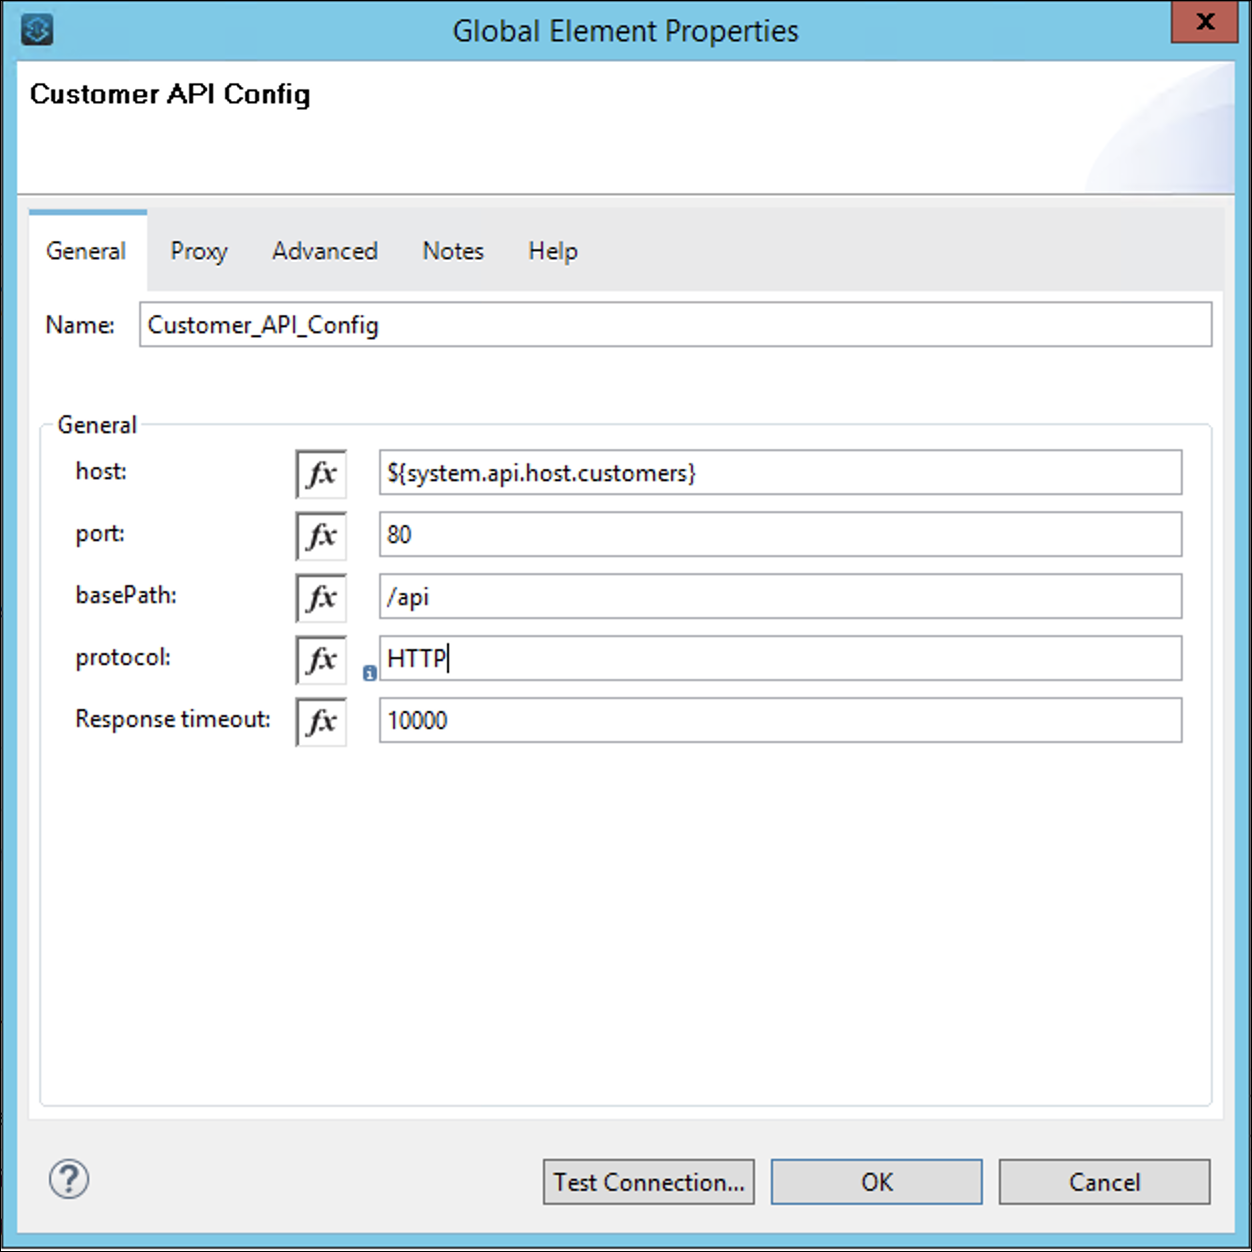
Define the HTTP configuration you will use with the Customer API.
-
Complete with the following values:
-
Host:
mythical-customer-api-v4-0.cloudhub.io -
Port:
80 -
Base Path:
/api -
Protocol:
HTTPNotice the Host value has the same value we configured in the configuration.yaml file for the Order API URL So we changed the value to ${system.api.host.customers} Notice the Response timeout value is 10000 (expressed in milliseconds). That means the timeout for all the calls to this API is 10 seconds. You can adjust it based on your requirements.
-
-
Click OK
-
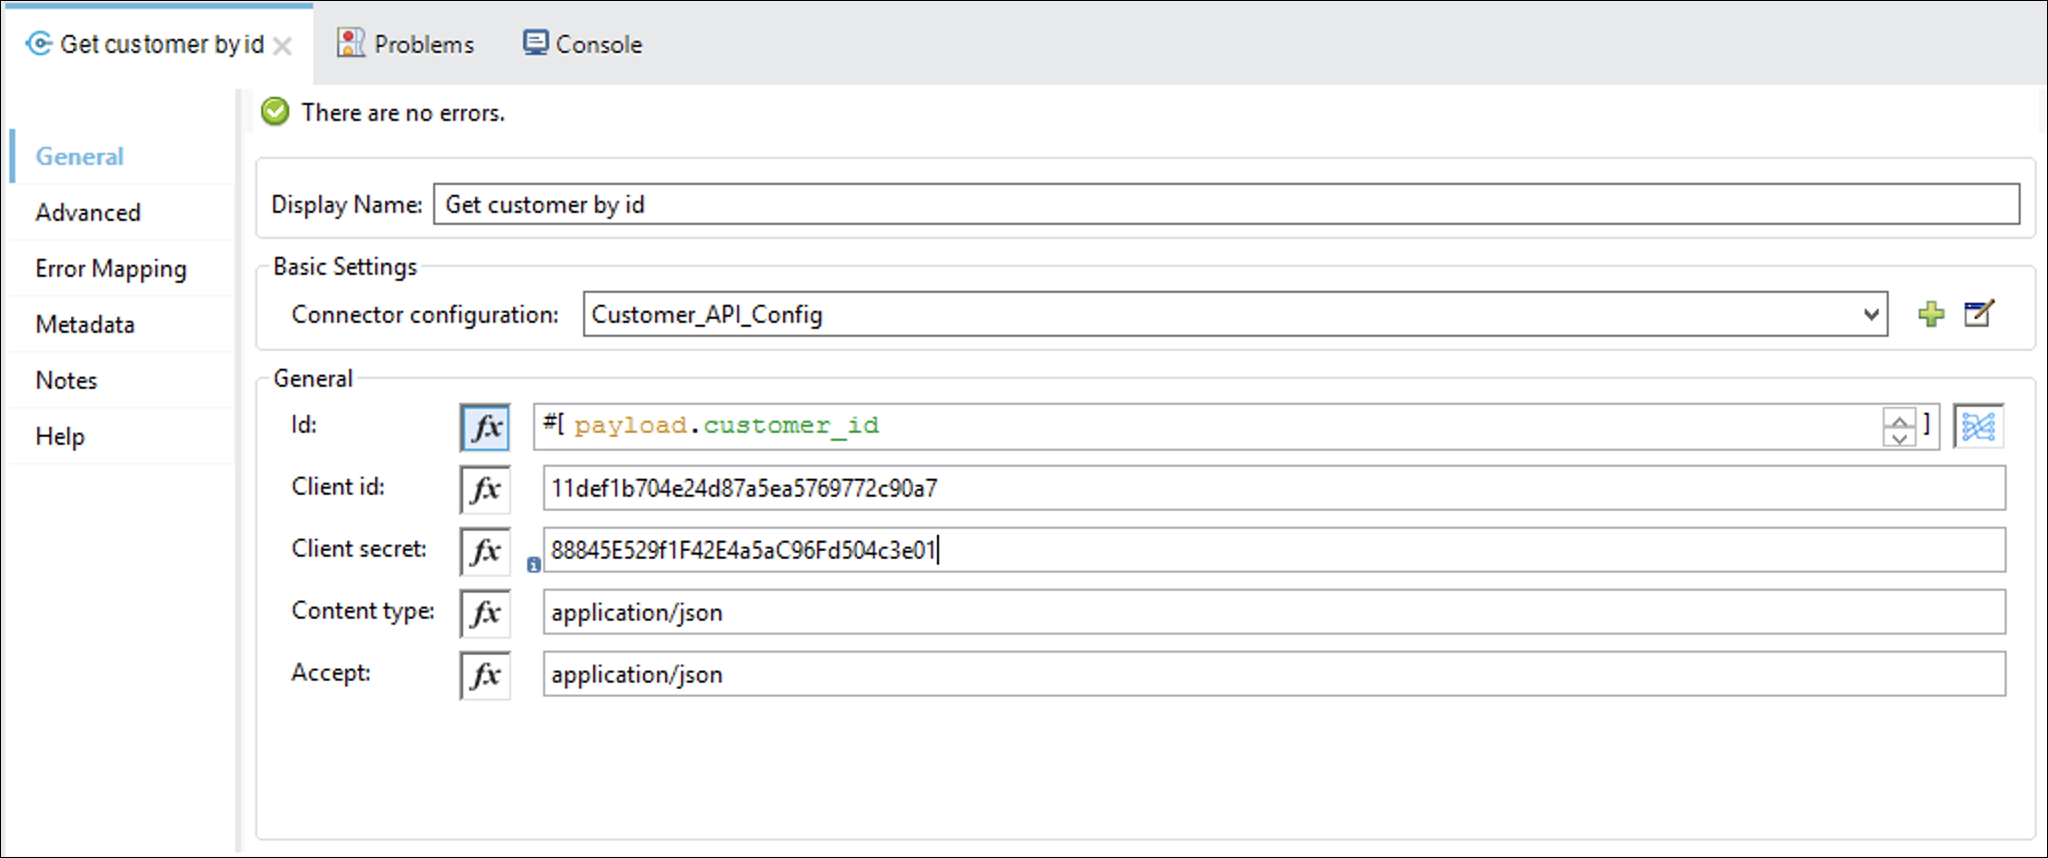
In the General section, set the following parameters:
-
Name: Expression Value
-
Id:
#[payload.customer_id] -
Client id:
11def1b704e24d87a5ea5769772c90a7 -
Client secret:
88845E529f1F42E4a5aC96Fd504c3e01 -
Content Type:
application/json -
Accept:
application/jsonThe configuration should look similar to this:
-
-
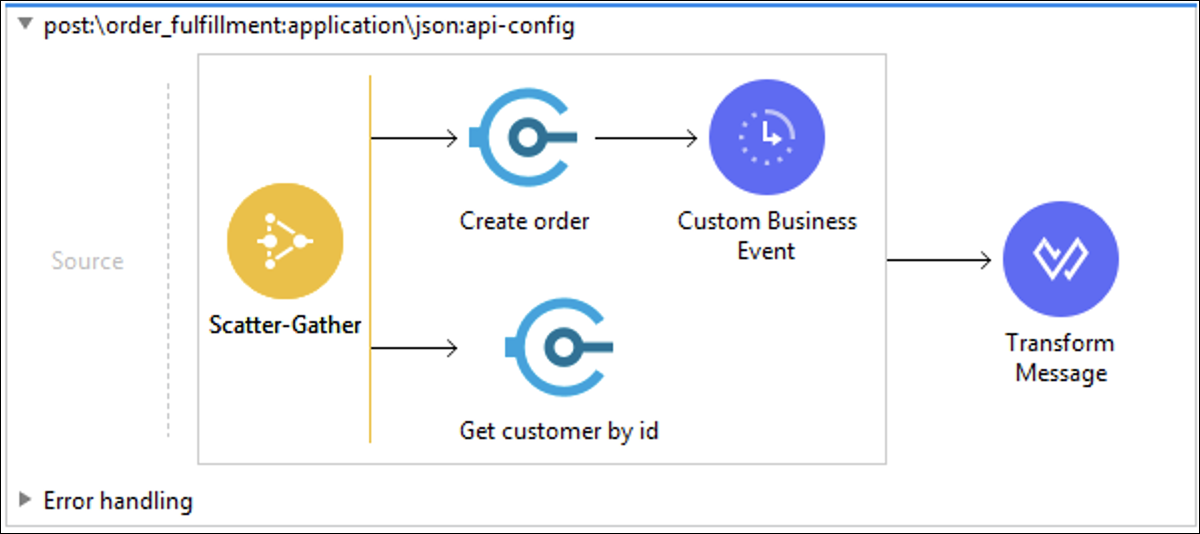
Finally we add a Transform Message Component after the Scatter-Gather to Build the API Response.
-
Double-click on the Transform Message Component
-
Paste the following Dataweave script
%dw 2.0
output application/json
---
{
	order_id: vars.order_id as Number,
	username: payload."1".payload.name default ""
}
The purpose of the lab is not to talk too much about DataWeave, but after the Scatter-Gather we are going to have a payload array. So payload."0".payload it means that you are getting values from the payload that comes from the first branch.
At the end you should have a flow like this
Step 5: Run the API
Now it’s time to run the API in Anypoint Studio to see how it all works together.
-
Start the application as done in the previous Lab. (Right-click the application, Run As > Mule Application
-
Once the API Console View opens in Anypoint Studio, click on the link.
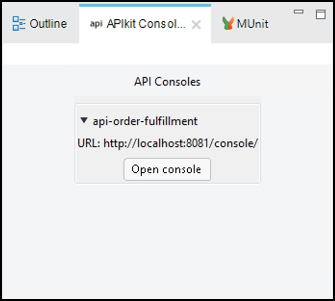
-
Go to the request body then click on the Send button below.

Make sure that you have selected the application/json value for the Accept header.
-
Once the request is served, you should see a 200 response code and the JSON response of our API.
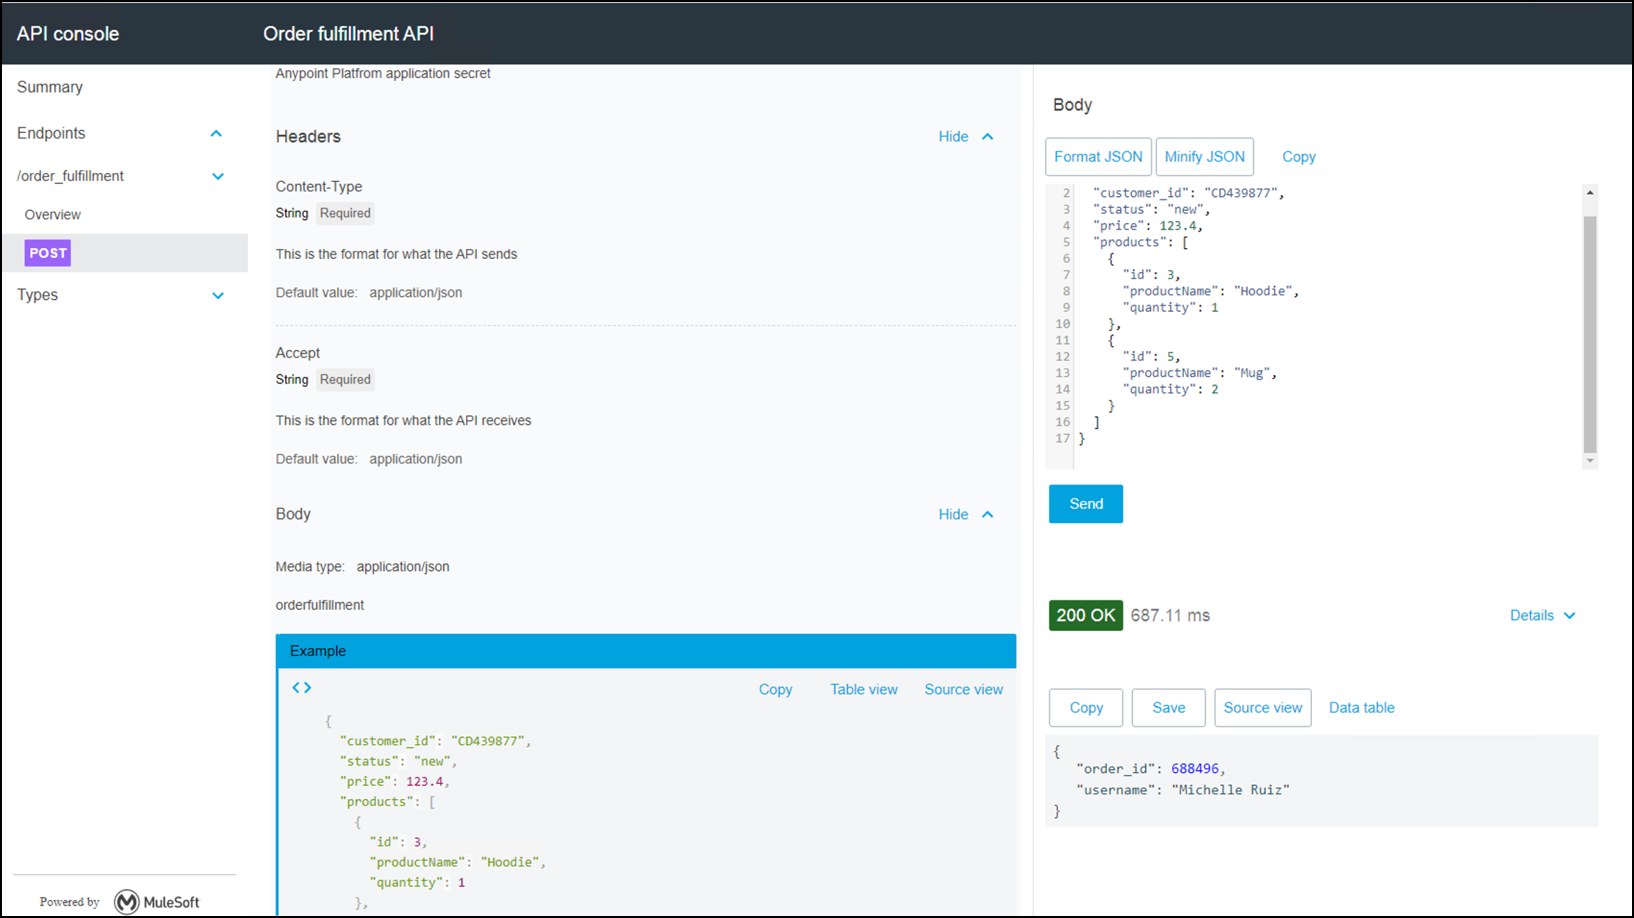
You could get 404 Response. This means that the User ID doesn’t exist.
Summary
In this lab, we
-
Using Anypoint Studio, implemented the Order Fulfillment Stub to complete the Process API layer.
-
Configured the Scatter-Gather flow control and RAML Consumer objects to orchestrate Order and Customer System APIs.
-
Using DataWeave, managed System and API responses to produce desired result set.
-
Tested the Process API implementation that traverses the System API layer using live API calls from RAML Consumers.
Go Further:
-
See the link Rest Connectors doc for more information
-
See the link Scatter-Gather doc for more information
-
See the link Dataweave doc for more information
-
See the link Business Events doc for more information
Congratulations! You have completed Lab 2.
Please proceed to Lab 3